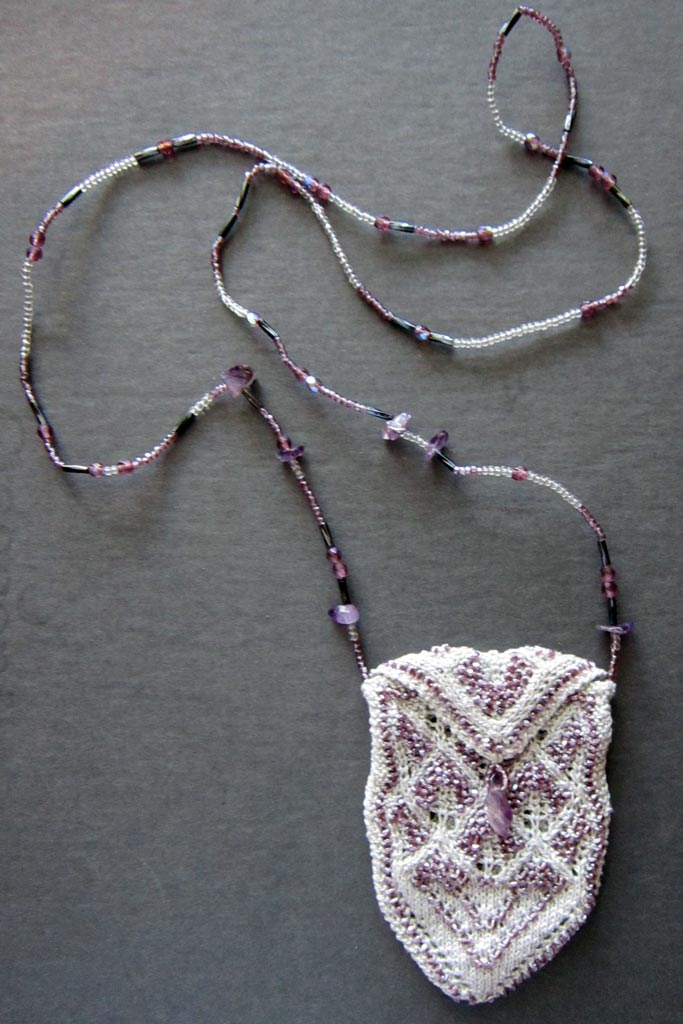
Peggy L asked: “Do you have an approximate count of beads required for the separate parts of the purse? Since I’m stringing them by hand, it would be nice to know!“
Lorna’s Light is one of the earliest patterns I wrote for knitting with beads. You might have noticed the original copyright year was 1999. Actually, I began designing and writing Lorna’s Light in 1998 — over 15 years ago!
One of the things you also probably noticed about this “older” pattern, compared to those I have spoiled you with so far in our KAL’s, is that specific number of beads to be strung is not given. Since many patterns out there omit this type information, this KAL gives me the opportunity to share some pointers in how to count the number of beads needed.

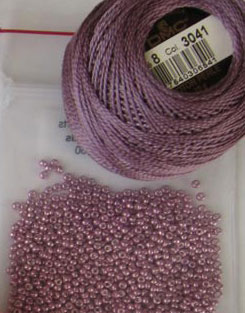
high quality Japanese beads come loose rather than on pre-strung strands
This is especially useful if you are stringing loose beads by hand, rather than just transferring beads from strands of a pre-strung hank. But even if you are simply transferring beads, it is still helpful to have a good idea of how many you will need for each piece beforehand.

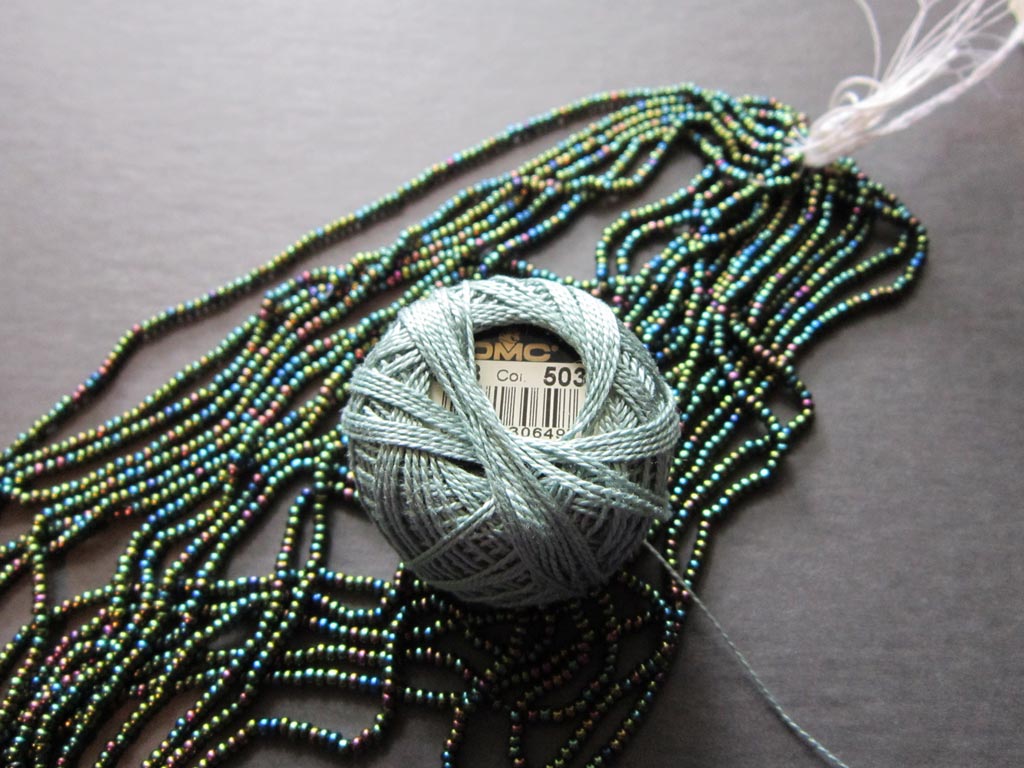
lower quality Czech beads can be purchased in hanks of pre-strung strands
Counting beads for each part of the purse
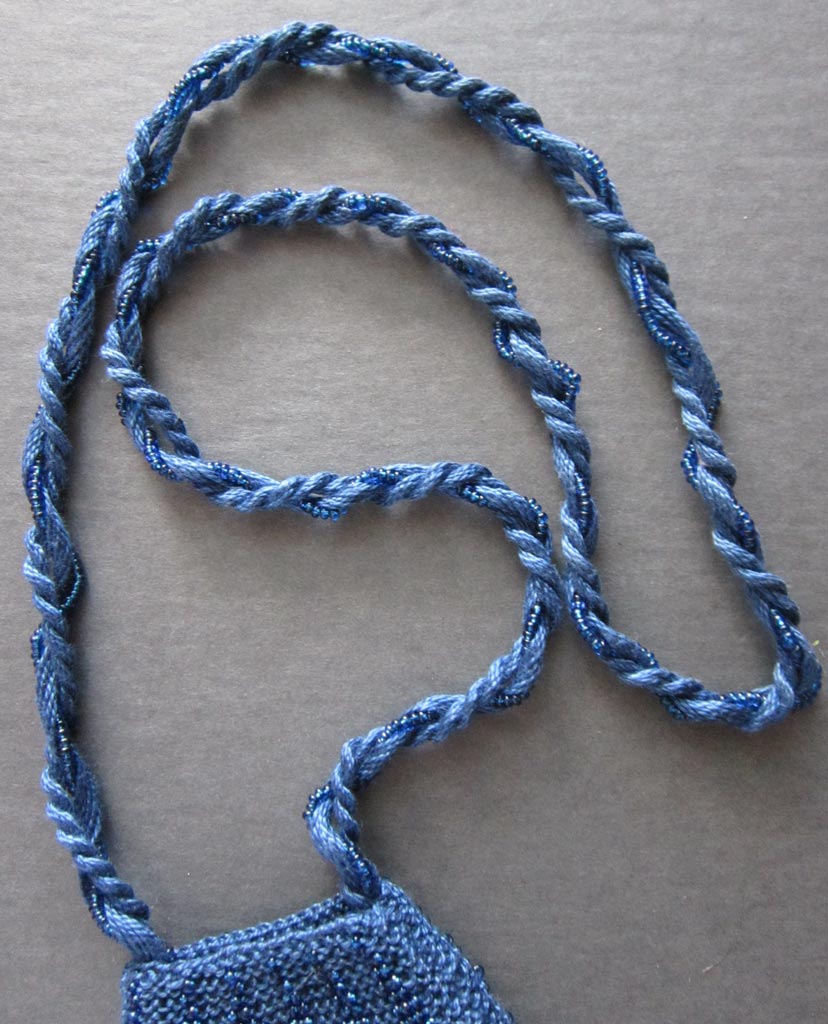
The purse is knitted in 2 pieces: 1) the purse back + flap; 2) the purse front. If you make your own necklace chain/cord, you might optionally want to incorporate more beads in that, too.
Rather than stringing all beads needed for the entire project before starting to knit anything, you can string just what you need for one part before beginning to knit.
Here are the bead counts for each Chart. Feel free to re-check my numbers to practice counting and make sure I have counted correctly! You can use either the chart graphic (count the slip bead-p1tr symbols) or add up the number of beads in each row of the corresponding written instructions.
Chart A = 60 beads
Chart B = 116 beads
Chart C = 120 beads
Chart D = 32 beads
Chart E = 82 beads
Once the number of beads in each Chart have been determined, the totals for the 2 knitted pieces of the purse can be totaled as follows —
1. Purse back + flap:
Chart A: 60
2 x Chart B: 2 x 116 = 232
Chart D: 32
Chart E: 82
TOTAL: 406 beads
2. Purse front:
Chart A: 60
Chart B: 116
Chart C: 120
TOTAL: 296 beads
Did you get the same answers?
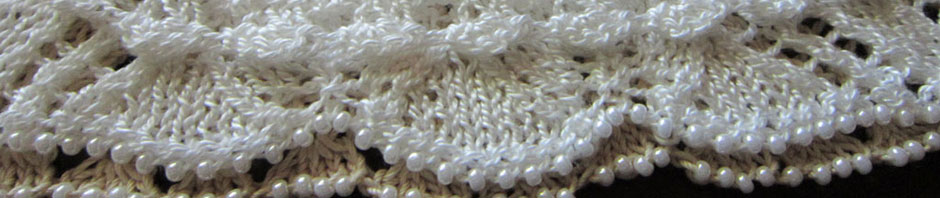
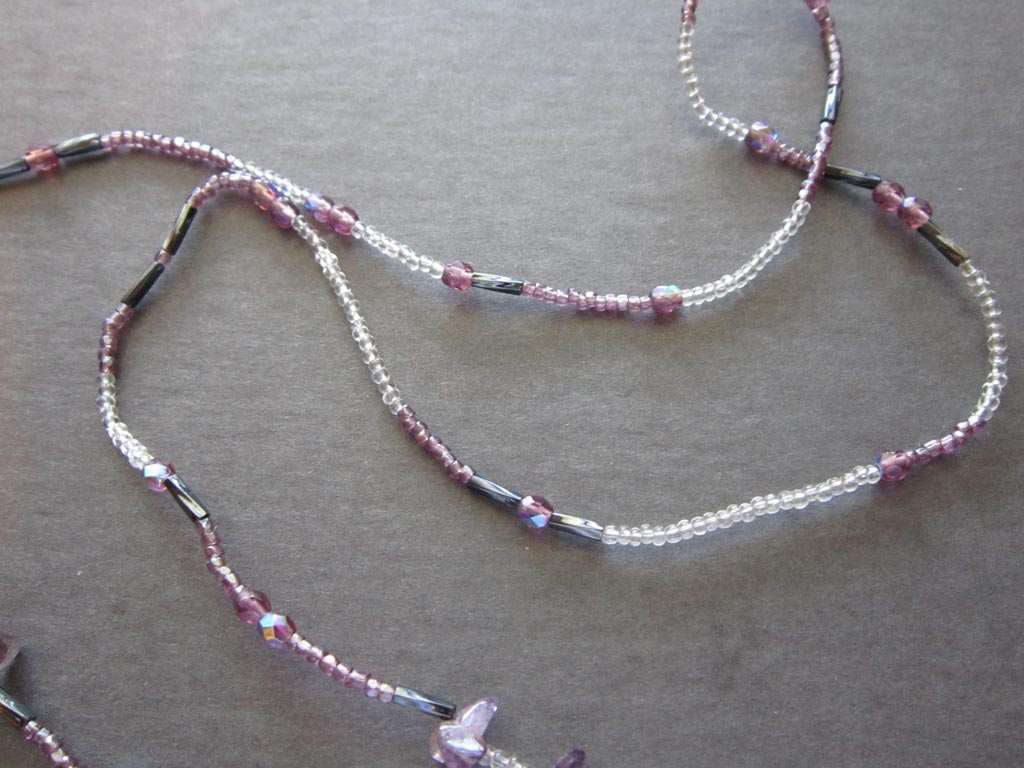
Note: If you want to make your own custom necklace chain to attach to the purse, you might want to incorporate extra beads you have left over (or even other accent beads and crystals such as shown in the photo or included in the Necklace Chain findings packs that some of you purchased from me). There are no definite number of beads needed for this, but later this month I will show you some ideas.
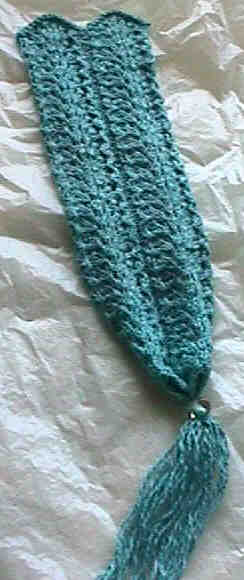
Counting beads for the bookmarks
Need more practice? Let’s count the beads needed for the bookmarks now. The bookmarks are made in one piece, so ideally you would string all beads needed before starting to knit.
Bookmark with 2 pointed ends:
Chart A: 60
6 x Chart B: 6 x 116 = 696
Chart E: 82
TOTAL: 838 beads
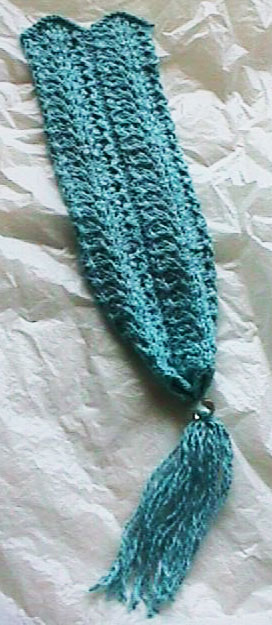
Bookmark with 1 pointed end:
Chart A: 60
6 x Chart B: 6 x 116 = 696
Chart C: 120
TOTAL: 876 beads
Counting beads per inch
A good way to approximate the number of beads you are stringing is to first determine the number of beads per inch. This is the number of beads strung side-by-side in one inch. For these beads pictured below, it looks like its about 17 beads per inch.
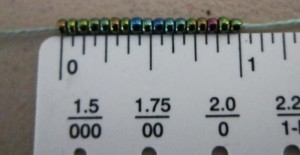
beads per inch
Then calculate the length of beads you need to string as follows:
divide (total beads needed) by (beads per inch) = length in inches of strung beads
For example, for the Purse Back + Flap section, you would need to string 406 beads / 17 beads per inch = 23.882352″ of strung beads. You and I aren’t going to remember that silly number for long, so go ahead and round it up to an even 24″ to make it easy on ourselves, lol.
Tip: Beads can vary in size somewhat, especially moreso for lower quality Czech beads. If you are seeing quite a bit of variation, it will be more accurate to calculate beads per inch by first measuring over 2 inches, then dividing by 2.

beads per 2 inches
Keeping on track by counting beads each row
Since the late 90’s when I first got bitten by the bead bug, my love for beads has grown exponentially, as well as my experience. One of the things I have found useful is to know how many beads to expect in each row (or each stitch multiple of a long row/round). Especially in more complicated patterns like Lorna’s Light, this helps spot some beading mistakes when they can still can be corrected relatively easily. Review Bead Row Pre-Counting Tip
The original publication of Lorna’s Light did not include written instructions corresponding to the charts. For this KAL, I upgraded pattern with written instructions. For your convenience, I also took the opportunity to include bead counts for each row in the written instructions. Let me know if you have any problems with these.
p.s. Did you know that Beaded Smoke Ring was the very first pattern I wrote for knitting with beads? (1997)


 HeartStrings FiberArts
 Knitting Bits of Lace on Facebook
 Ravelry Store