getting beads to jump onto your beading needle using a straw
For those reading yesterday’s article about Beading Options, you might have noticed Judy Gibson’s comment about ” … Somehow I just imagined that you scoop the beading needle through a bunch of beads and they would magically jump onto the needle. Doesn’t seem to be working that way. You’ve done many beaded projects in the past so maybe it’s on your site somewhere already … ”
I didn’t get online to reply right away (I was buried deep in doing my income taxes, which is about the most horrible way to spend a Sunday, let me tell you!). Anyway, being the smart, resourceful person that Judy is, she came up with her own trick to help beads jump onto her beading needle. Here are pictures and an explanation that she sent me, and I think they are certainly worthy of sharing. Thank you Judy!
“Hi, Jackie! … I did look around and find your tips on stringing beads in an earlier KAL (and THANK YOU for mentioning placing a towel under the plate of beads!)”
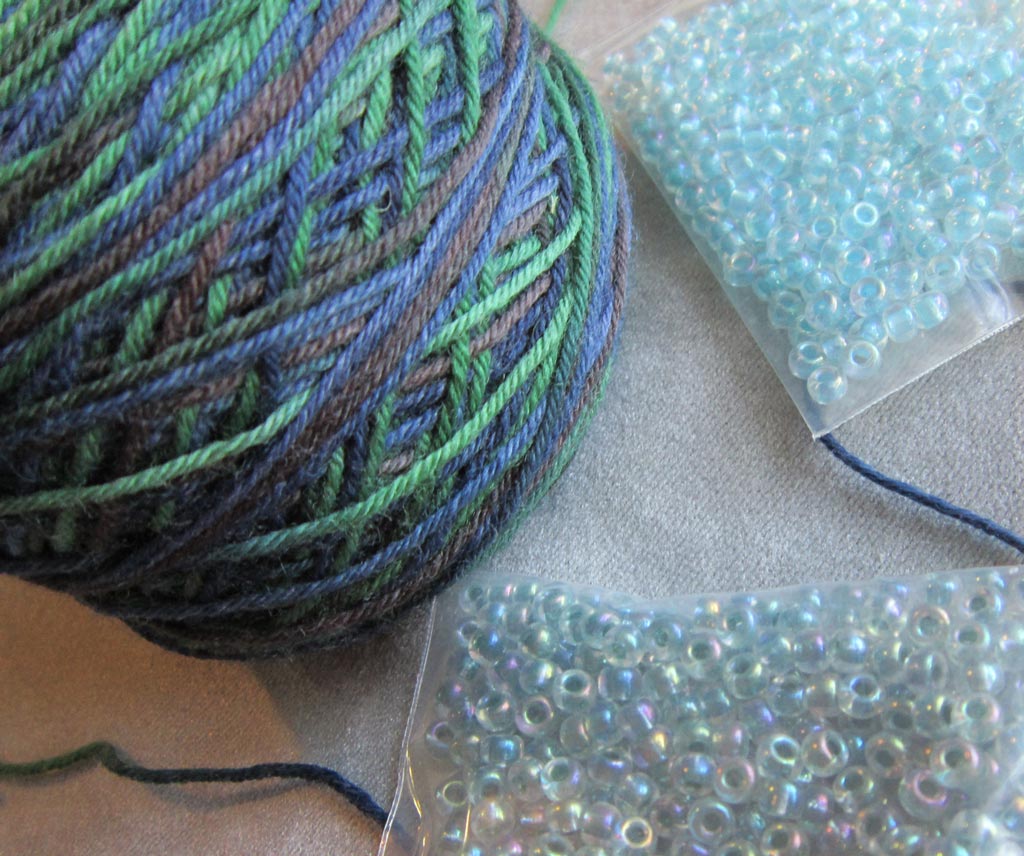
“Meanwhile I came up with another little twist on technique: I scooped my beads into a drinking straw …”

Filling the straw with beads
“… and held it over the plate as I ran the beading needle into the straw scooping up the beads.”

Getting beads on the beading needle
“I found that it works best if the beads are not too tightly packed, so they can jiggle into single file. Also any missed beads are not a problem, as they fall out onto the plate when you slide the captured beads onto the thread. This is good because it allowed me to skip a few puny or malformed beads.”

Pulling captured beads on beading needle out of straw
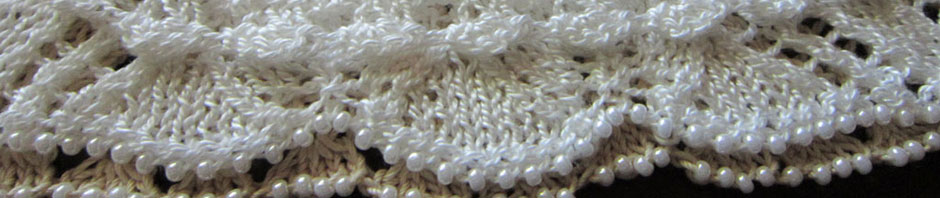
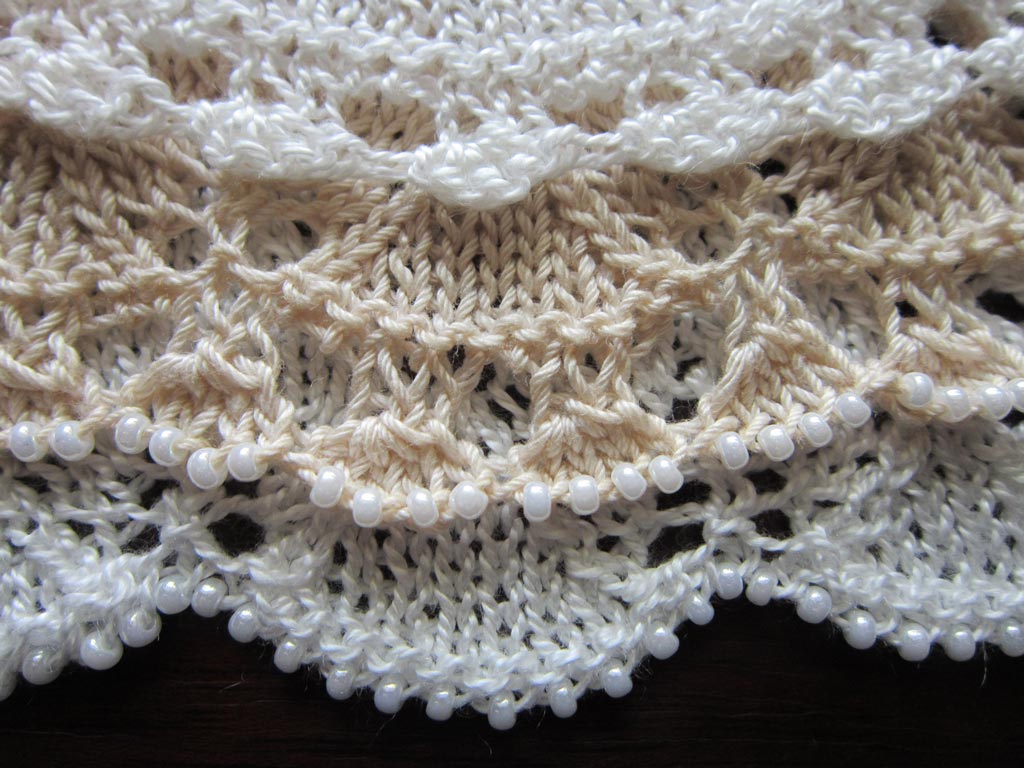
“I counted my beads into groups of 40 (i.e. multiples of 4), separated by a slip knot. Ready to knit!”

All strung up!
Note: Judy’s reference to multiples of 4 is in anticipation of doing the beaded caston for the petit scallop edging option.
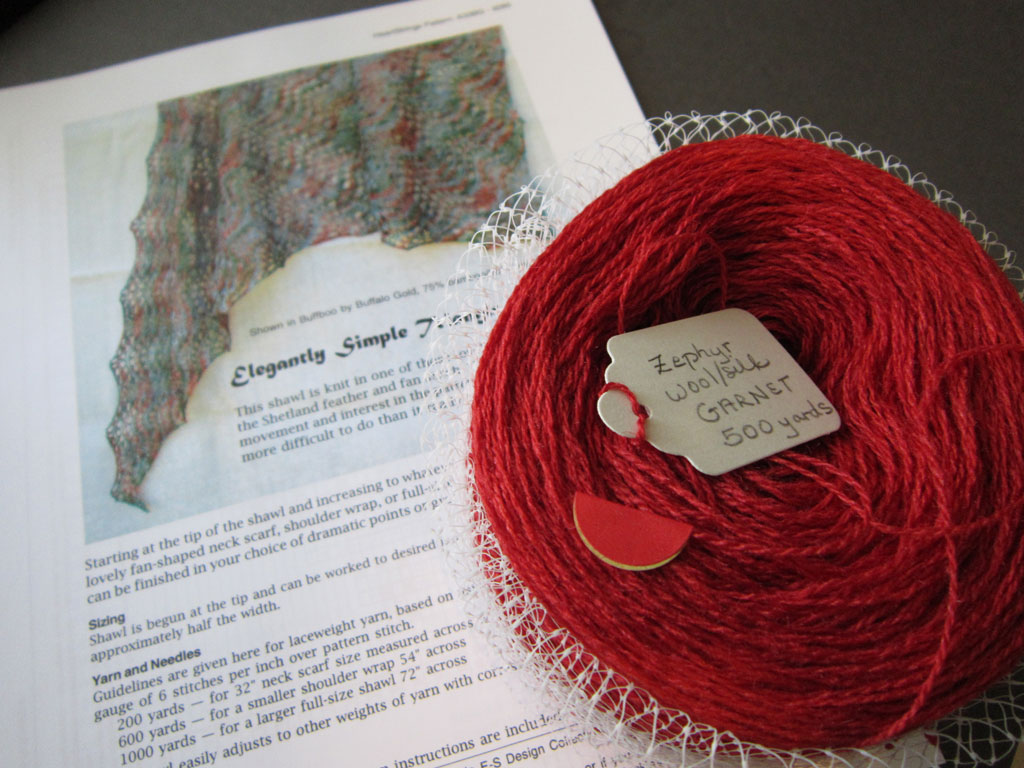
Judy went on to say: “I’m having a whole lot of fun already with this KAL, and now I think I’ll probably also knit a second using the other beaded edging option (unless some other shiny object comes along and catches my eye first…). I’ve certainly got plenty of beads.”

 Besides the bonus
 HeartStrings FiberArts
 Knitting Bits of Lace on Facebook
 Ravelry Store