Forego the cable needle and just re-position the stitches using your knitting needles.
I love the look of cables, but am not too fond of fiddling with a cable needle. It interrupts my flow of knitting and takes me out of my zen, lol. So, for simple cables like those in Lacy Maizy, I forego the cable needle and just re-position the stitches using the needles I am knitting with already.

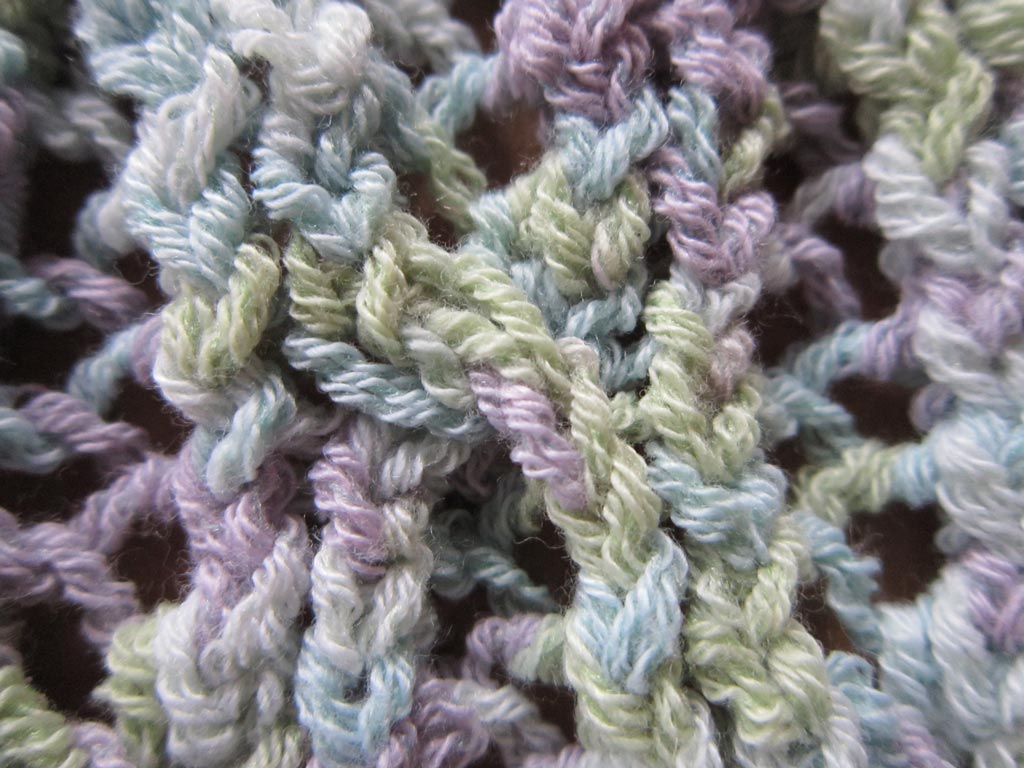
2-over-2 Cables in Lacy Maizy
The pattern for Lacy Maizy includes step-by-step written instructions for making the left-crossing 2-over-2 cable both with and without a cable needle. If you’ve been wanting to learn and practice making cables without a cable needle, here’s your chance! To help you if you need visual guidance, I’ve also made a step-by-step photo tutorial below.
Tip: When first trying the method without a cable needle, practice on a plain knit swatch with larger needles and larger, non-slippery yarn. Once your hands get acquainted with the movements, I think you’ll find it goes MUCH more quickly than it takes to talk through the steps, lol.
How to Reposition Stitches for Left-Crossing 2-over-2 Cable
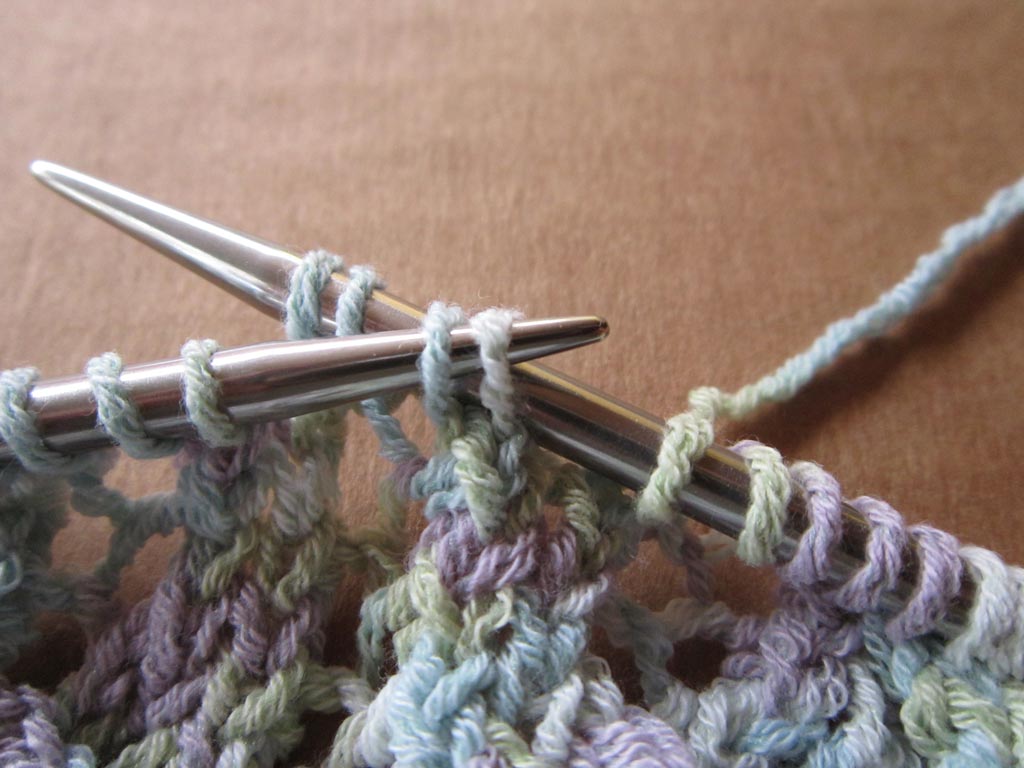
Getting Ready: Work to the position where the cable is to be worked. The Left-Crossing 2-over-2 Cable will be worked over the next 4 stitches.
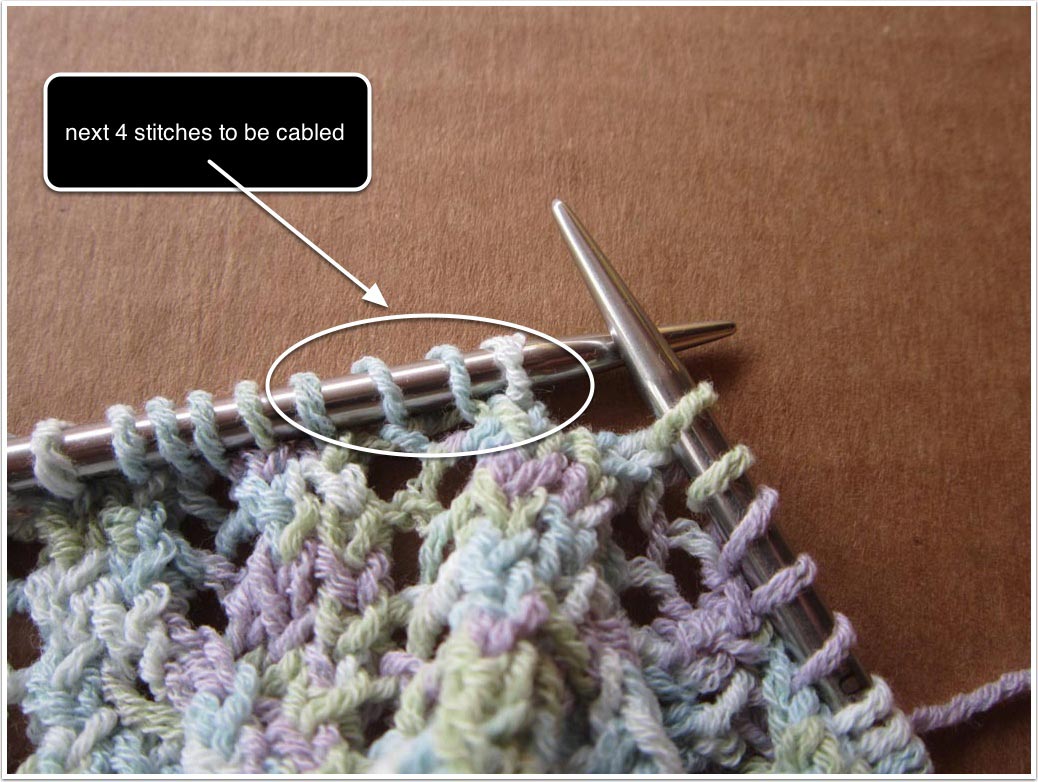
Next 4 stitches to be worked for a cable
Step 1: Slip these next 4 stitches onto the right-hand needle.
You can slip these stitches all at one time by inserting your right-hand needle into the next 4 stitches …
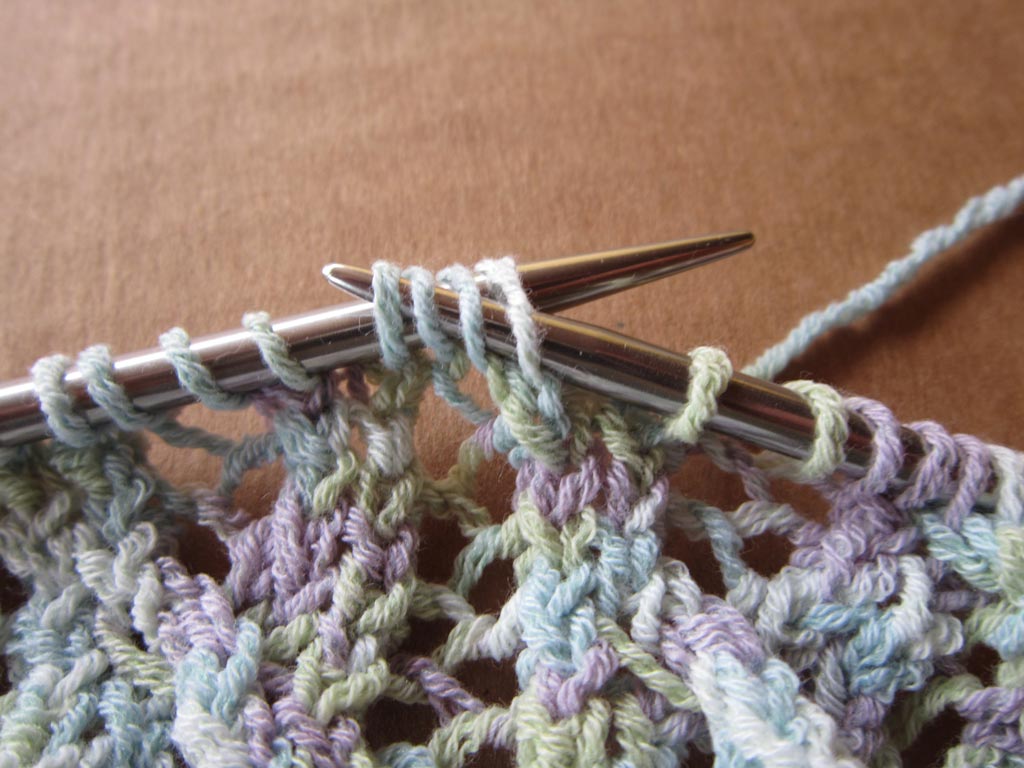
Insert right-hand needle into next 4 stitches
… and then just remove the left-hand needle. OR you can slip the 4 stitches one at a time from left-hand needle onto the right-hand needle.
4 stitches slipped to right-hand needle
Note: The yarn I am working with is a bit splitty, so one of the stitches in the above picture sort of looks like it is 2 stitches, but actually it is just 2 strands of the yarn that have slightly separated.
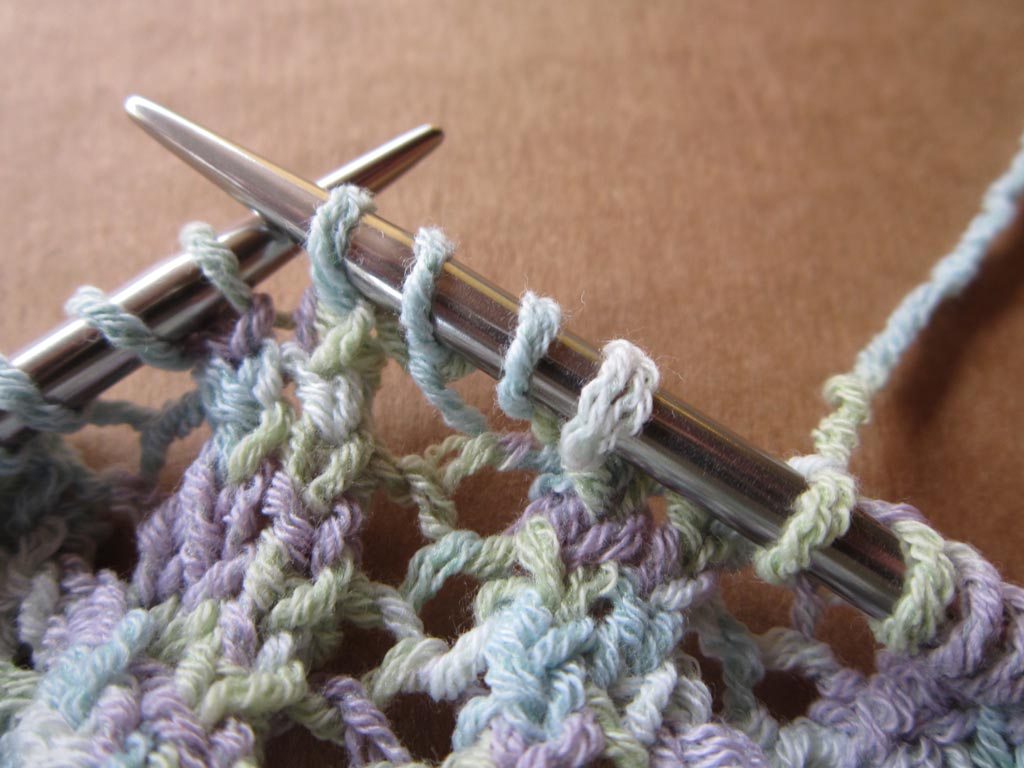
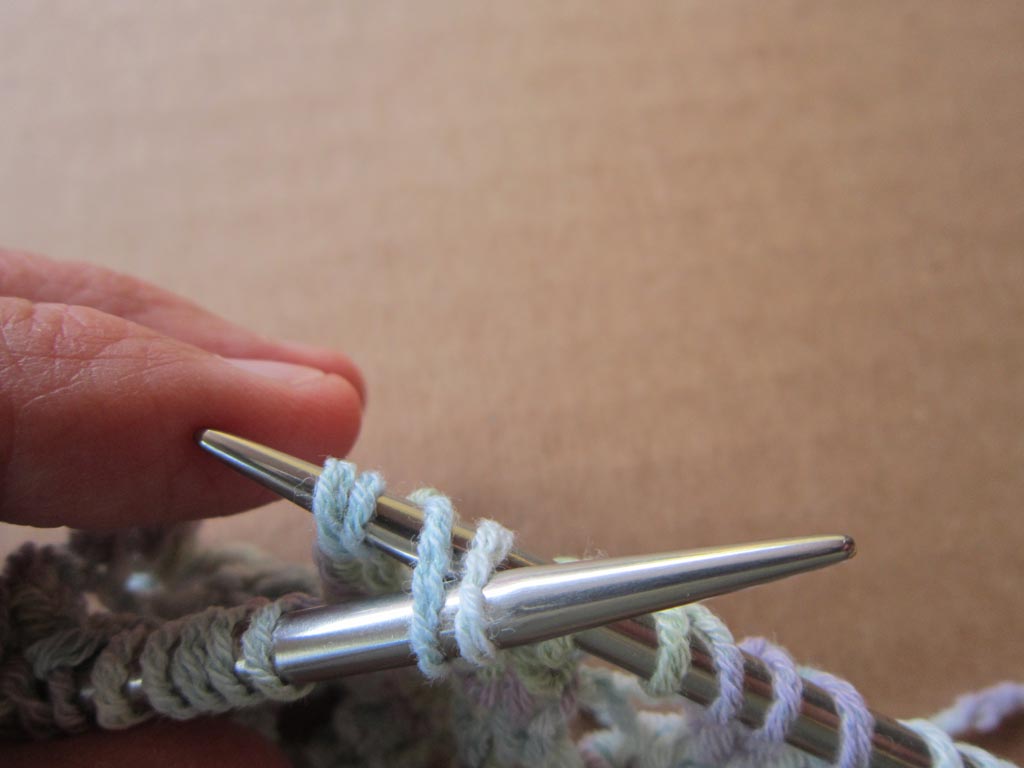
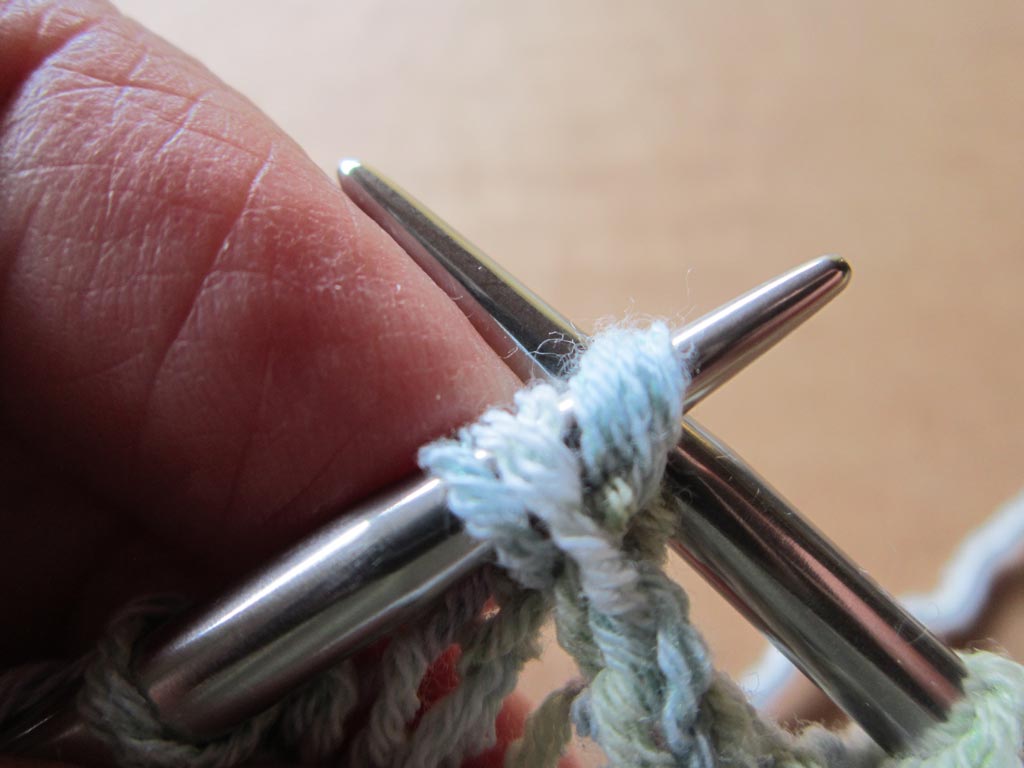
Step 2: Holding left-hand needle in front of work, skip first 2 stitches on right-hand needle and insert left-hand needle in the further 2 stitches.
insert left-hand needle into 2 further stitches of the 4 stitches that were slipped
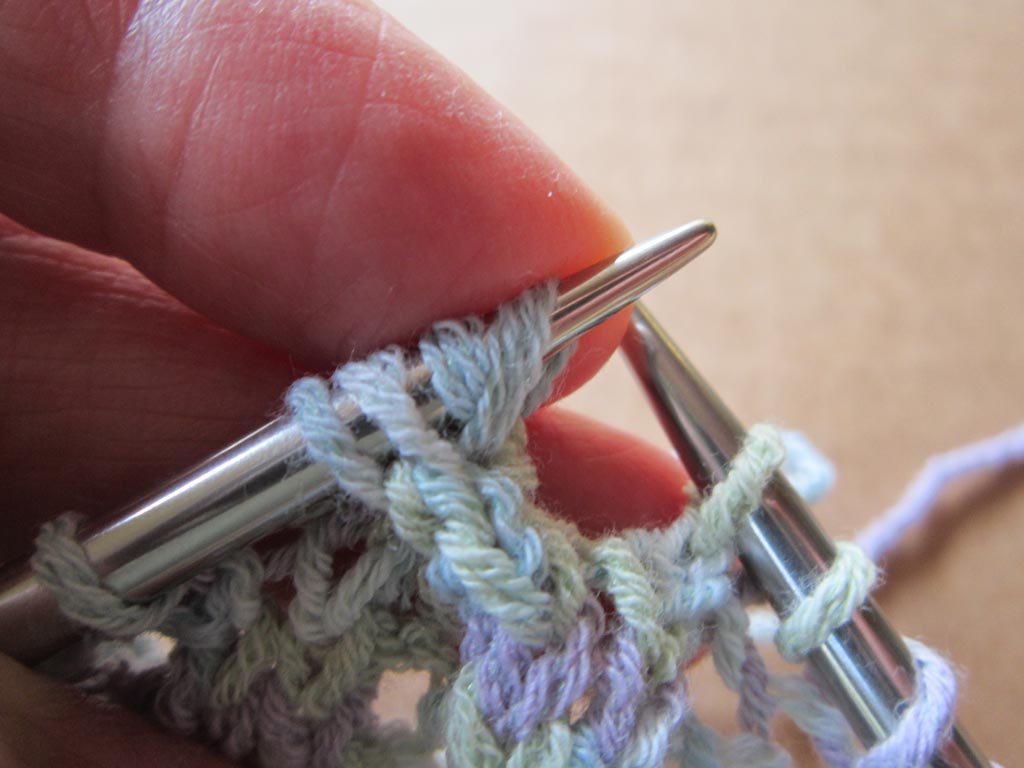
Step 3: (It’s not as scary as it sounds!) Ease the 4 stitches toward the tip of the right-hand needle, then pull out right-hand needle, letting the 2 skipped stitches dangle free for a moment.
Ease the 4 stitches to the tip of the right-hand needle
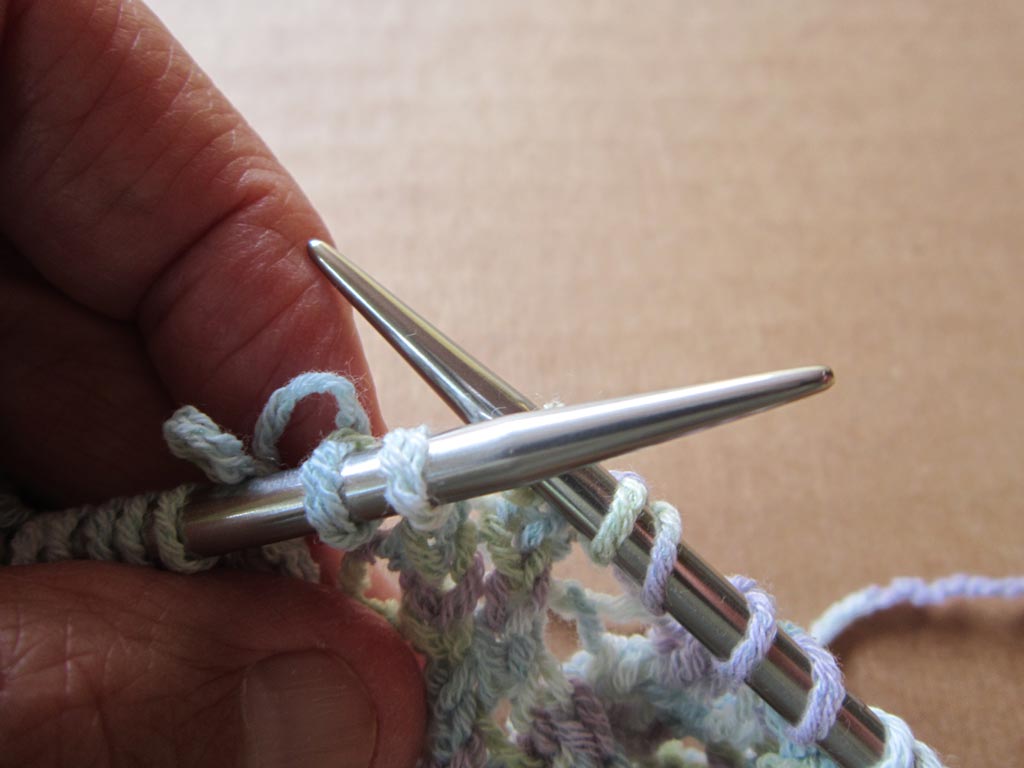
Remove right-hand needle
Tip: If your yarn is a bit slippery as mine was, you can temporarily use your left-hand index finger to sort of hold those 2 dangling loops against the left-hand needle so they don’t escape until they are captured again in the next step.
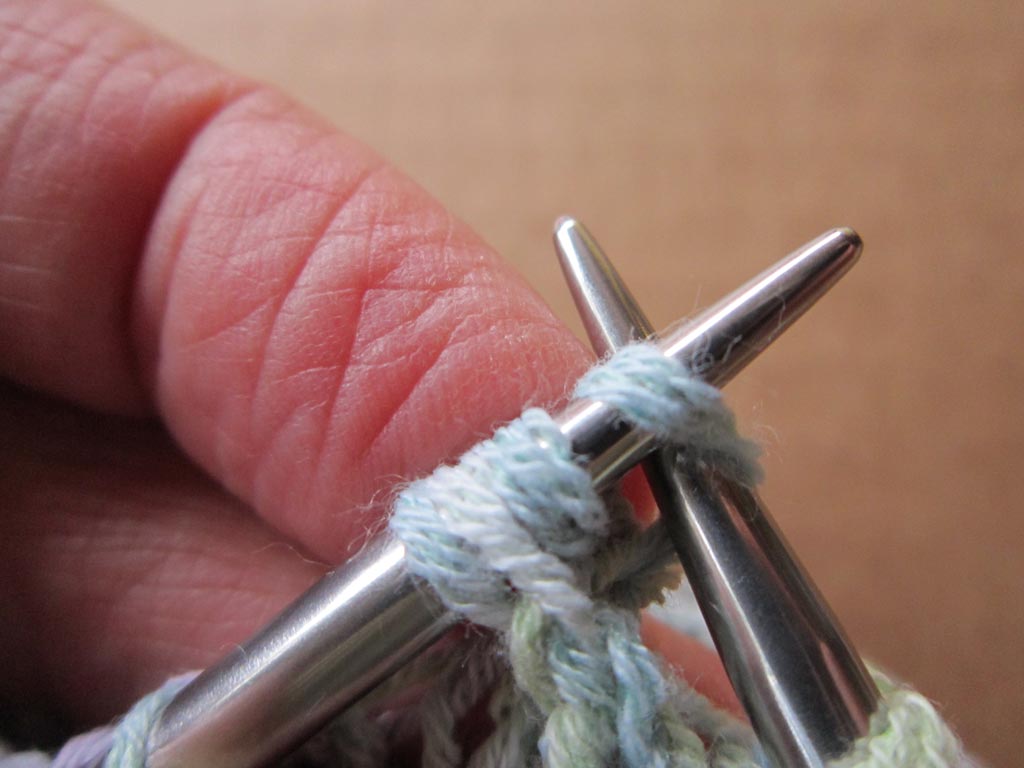
Step 4: Pick up the 2 dangling stitches from behind the work with right-hand needle point, then slip them onto left-hand needle.
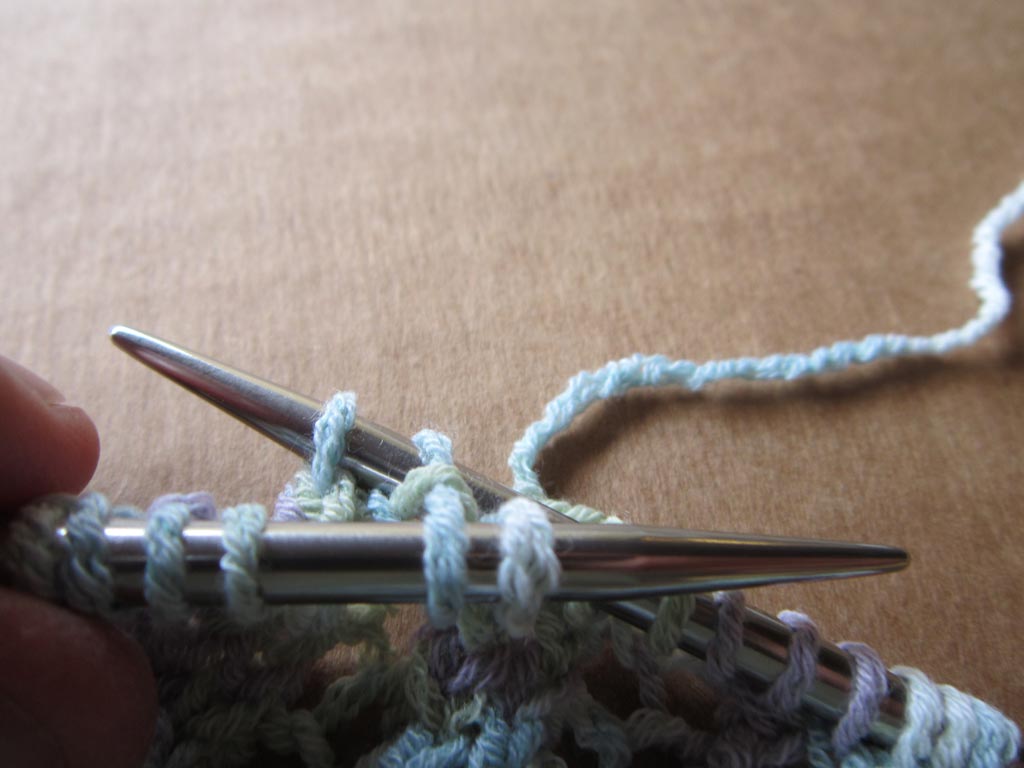
Insert right-hand needles into the 2 dangling stitches

Cross right-hand needle behind left-hand needle
Slip 2 stitches on right-hand needle to left-hand needle
Tip: If it feels like a tight fit, do not be concerned. This is natural for doing cables until the stitches are actually knitted.
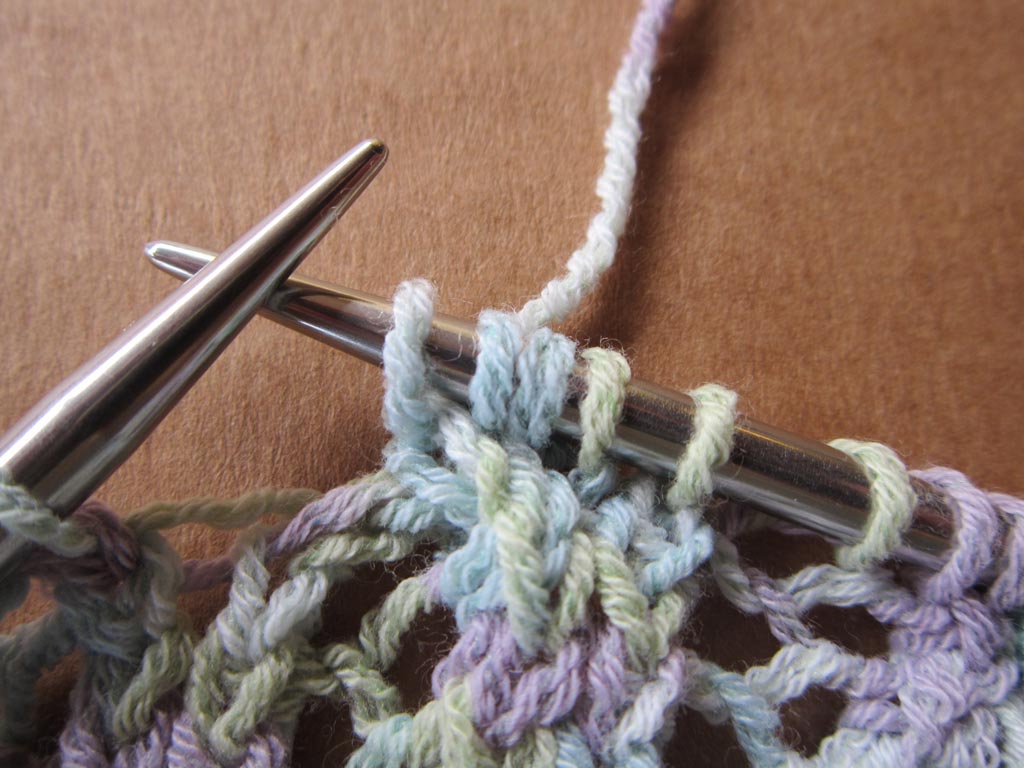
The 4 stitches are now on the left-hand needle in their scrunched-up crossed position, and ready to knit to complete the cable.
4 stitches on left-hand needle in crossed position
Complete the Cable
Step 5: Simply knit the 4 stitches.
Knit each of the 4 stitches
Tip: Because the 4 stitches are somewhat scrunched-up, be careful to insert right-hand needle into a single, whole stitch rather than catching 2 stitches or splitting a stitch (especially if you are working with splitty yarn like I am).
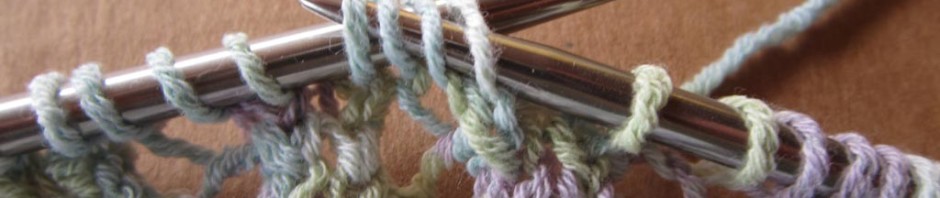
Just as in regular cables done with a cable needle, the completed cable doesn’t show up very well when first completed because there is only one row of stitches above the cross.
The completed 4-stitch cable
But as subsequent rows are added, the cabled pattern shows up more.
Cable cross shows better after a few rows
One of the things that I really like about the cables in Lacy Maizy is the pretty, scalloped side edgings they form. The scallops can be further enhanced in the blocking if you want.
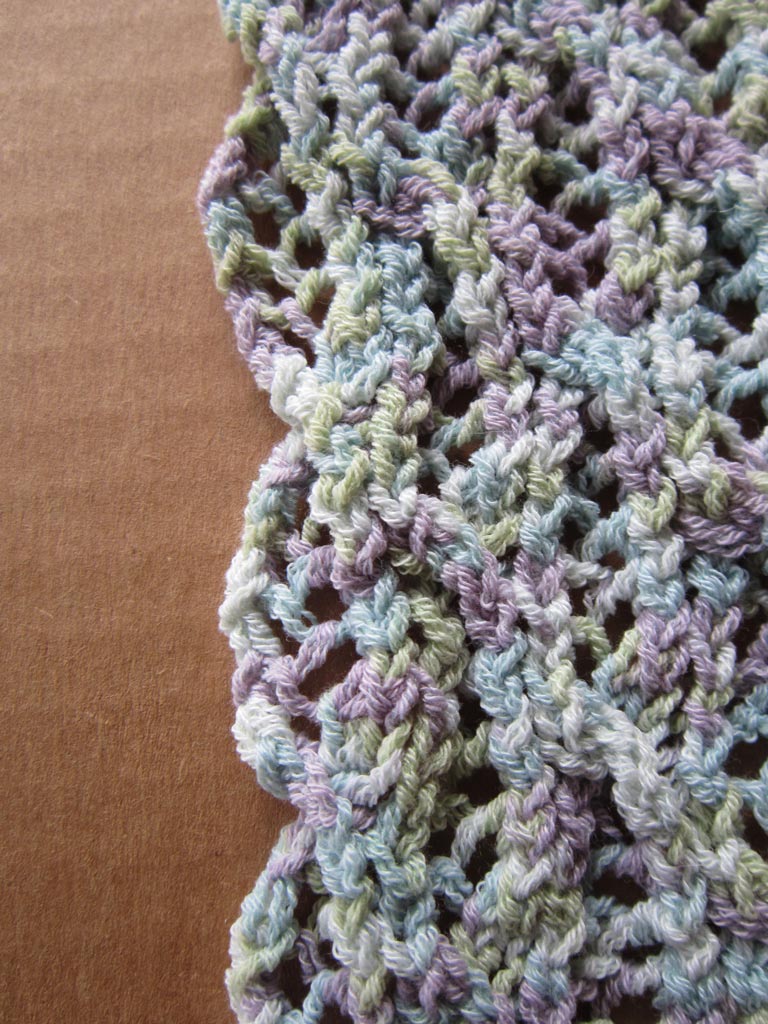
Cabled edge detail in Lacy Maizy
If you love cables but want to free yourself from using a cable needle, I hope you’ll give this method for making cables without a cable needle a try . Let me know what you think.

 HeartStrings FiberArts
 Knitting Bits of Lace on Facebook
 Ravelry Store
The visuals are great! Thanks for all the extra help that you give us. Especially when learning new techniques. I really appreciate your help.
Sharon Gail
Delighted to see this in print and pictures. It makes it so much easier to do it this way. I love knitting cables and have done this for a long time. I just figured it was me, not wanting to fiddle with the cable needle