
Even though you will need to change colors when making the Mini Flag, do not cut your thread between color changes. There is no need to create extra ends that will add bulk to the fabric and require additional project time for weaving. Here are tips for changing colors and avoiding long carries between stripes by hiding the unused yarn color within the narrow tubular edge.
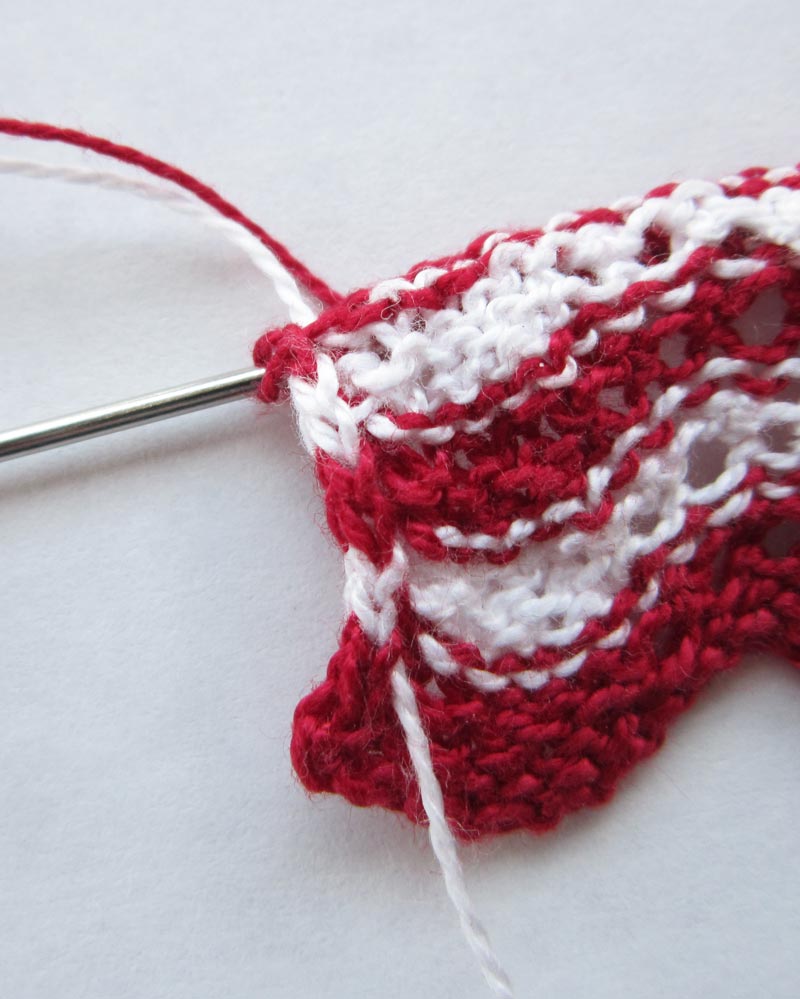
WS view of the narrow tubular edge along the end of the row where yarn colors change
Tip 1 — When changing colors: pick up new color from beneath the old color. As you begin to knit the next stitch, snug up the tension slightly to avoid looseness. After knitting the stitch above the stitch where you left off in the old color, gently tug on the end of the old color to “lock” the threads into place.
Tip 2 — To avoid long carries between stripes when changing colors, twist the thread not being used around the thread being used on the middle RS rows of each white and red stripe beginning with the first white stripe, and ending on the last white stripe. To make as inconspicuous as possible from the RS, I suggest this (I will use row 8 as the example):
k3 (i.e. in white for this example row),
pick up color not being used (i.e. red in this example) from beneath the white, to the right, then over the top and to the left, thus encircling the white thread with the red,
k1 (in white),
then gently tighten the tension on the red thread to the right toward the tubular edging so as to “lock” the threads into place and hide the red from showing on the RS.
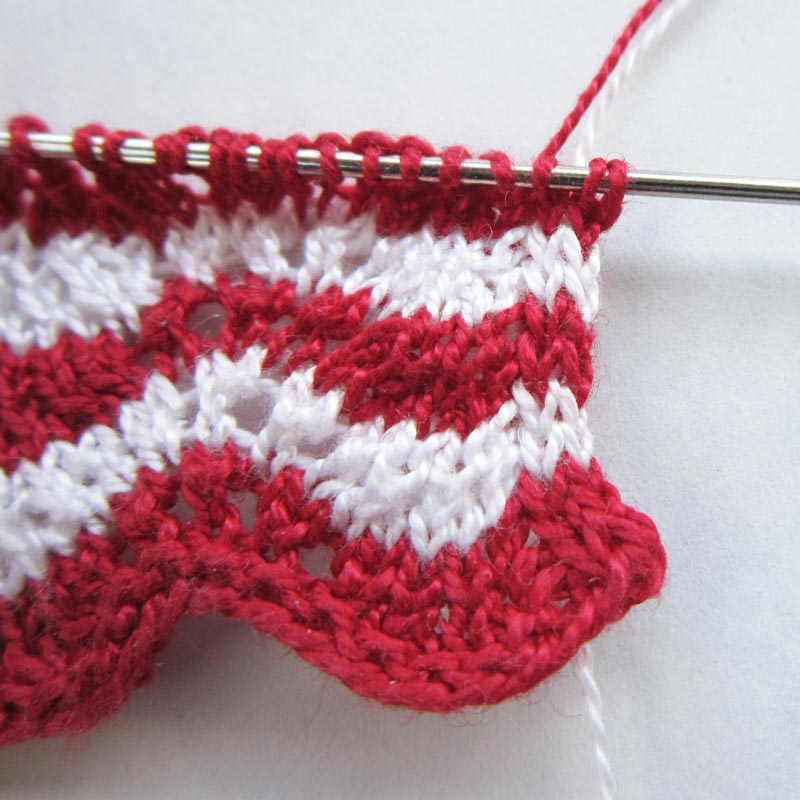
RS view of the narrow tubular edge along the end of the row where yarn colors change
Design Note — Even though there are no color changes along the other end of the row, that edge is also worked tubularly so that both side edges have the same rounded look and similar stability.

WS view of the narrow tubular edge along the opposite end of the row

 HeartStrings FiberArts
 Knitting Bits of Lace on Facebook
 Ravelry Store
Pingback: Knitting Lacy Stripes for the Mini Flag | Knit HeartStrings Learn-and-Knit-Alongs
Brilliant!
Thanks for this – especially Tip #2.