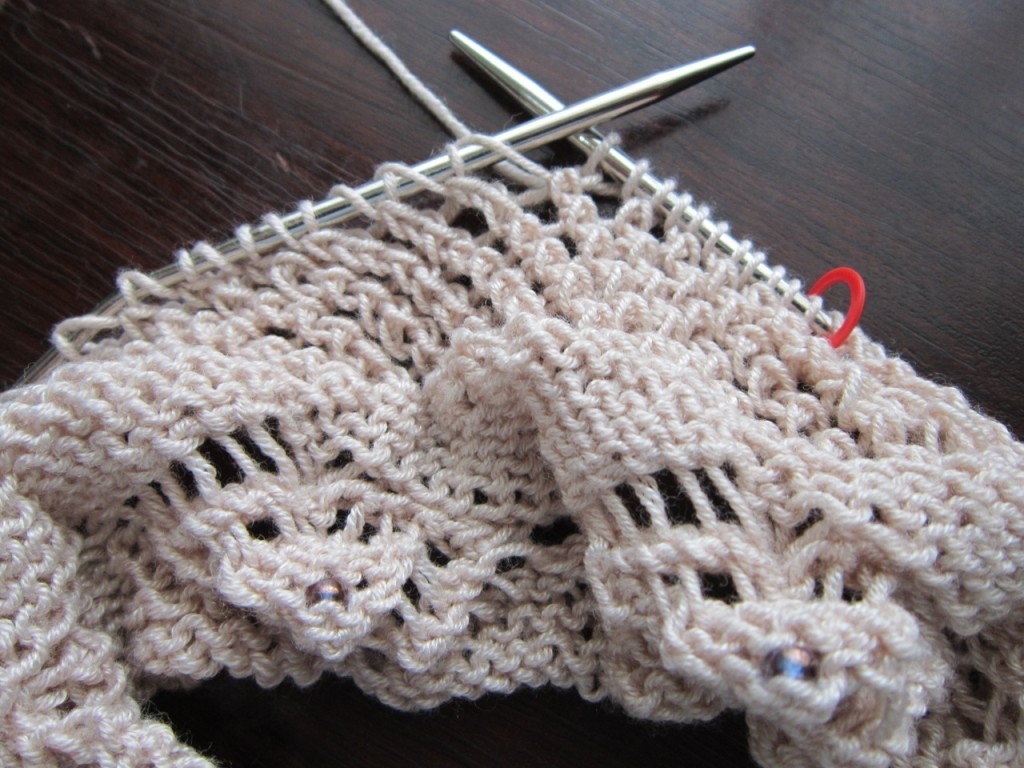
With this month’s KAL project in the BOBBOL 2013 Series for Pretty Awesome Yarn Pouch, we are going around with lace; i.e. circular knitting.
If you are a novice to knitting lace, I hope you enjoy the new discoveries and learnings this project brings. For those of you who are seasoned to knitting lace, I hope that these tutorials, tips & techniques might spark a re-discovery or be a jumping-off point to think of something in a new and different way.
That said and most of all, I hope that everyone has fun with the project. Let’s get on with it!
Last year for Bits of Lace 2012, we focused on lace edgings or other small lace pieces worked flat in rows. Each row had a small number of stitches. If these lace edgings were incorporated into larger knitted articles, stitches were either picked up along the straight edge (e.g. Summer Lace Anklets) or attached as a bind off (e.g. A Bit of Lace Dolly Shawl). In both cases, the stitches of the lace edgings were perpendicular to the main article.
Rounds vs. Rows
For this month’s Yarn Pouch project, you’ll notice that the pattern gives instructions for rounds (i.e. circularly knitting) so as to distinguish that from rows (i.e. back and forth flat knitting).
Right Side Always Faces You
The norm is that the right side is facing you when working circularly. This has its advantages in knitting lace, especially when there is lace patterning every round/row:
1. Since lace is often charted to look similar to the resulting fabric from the right side, you don’t have to mentally translate the visualization of wrong side rows to right side rows when knitting a design for knitted lace.
2. Even if you are following written instructions only, the stitch pattern is usually “read” more easily from the right side, so knitting circularly helps make this easier for visually checking that stitches are aligning properly into the intended design.
3. Usually there is a predominance of knit-type stitches on the right side of stitch patterns. For this month’s Yarn Pouch KAL, there is hardly any purl. So for those who hate to purl, you should especially love this project. I did throw a few purl stitches into the design of the lace edging (to help avoid curling), but if you really-really hate to purl they could be changed to knit stitches (just do a bit more blocking to tame the curl). Have you taken the poll?
The Lace Edging Continues (no picking up or attachment)
Rather than the lace edging being perpendicular to the rest of the knitted item, the lace edging is worked circularly and then the rest of the item is also worked circularly.
Reversing Direction (corollary to Right Side Faces You)
Since the Lace Edging of the Yarn Pouch will be turned down over the body of the pouch, the direction of circular knitting changes once the lace edging portion is completed.

Starting the body of the pouch (wrong side of lace edging faces you while working the right side of body pouch)
This keeps the right side of the knitting facing you while the body of the pouch is worked.
How are you doing on your Yarn Pouch? Questions? Comments?


 HeartStrings FiberArts
 Knitting Bits of Lace on Facebook
 Ravelry Store
Pingback: Knitting the Lace Edging of Pretty Awesome Yarn Pouch - Part 1 | Knit HeartStrings
Well, I had the same problem with reversing – a larger than normal hole. However, I did just continue on hoping that knitting tighter on the next round would help. It did somewhat but I am glad to see that there is another method of doing this reversing (the wrapping you mentioned) that will, hopefully, minimize this problem.
For reversing direction on this particular project, I decided not to make it more complicated than necessary. Once the ribbon is woven through the holes and the bag cinched up with the drawstrings, that will not really be noticeable.
If we were reversing direction such as on transitioning from the collars to the body on the dickey sweaters like I design, I do a more complicated process of wrapping as for short rows and then picking up the wrap on the following round. I really didn’t feel that was necessary here since there already were holes for the eyelets.
If you want, you can just cinch up a bit tighter on the following round when you get to that position, but otherwise it will even out somewhat when washed for blocking and the ribbon woven through the eyelets.
When I reversed direction, I ended up with a large hole at the end of the row that was bigger than the hole for the other yarnovers in the pattern. I ripped it back and I’m hoping to have it look a little better when I try again, being careful to keep things tighter. Are there any tricks you can share with us? Thanks!