Behind the Design Scene of the Mini Lace and Beaded Flag
The Mini Flag we are knitting for April’s KAL is loaded with interesting techniques and details. On a quick look, some are obvious and others might not be.
Natural Bias
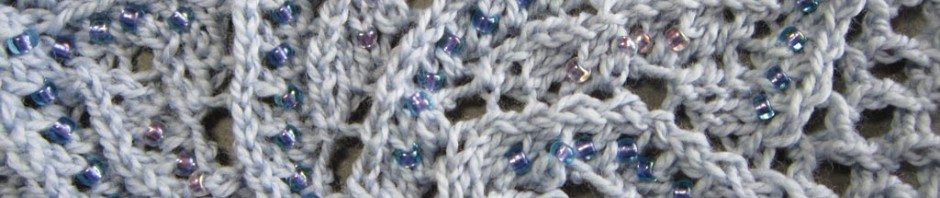
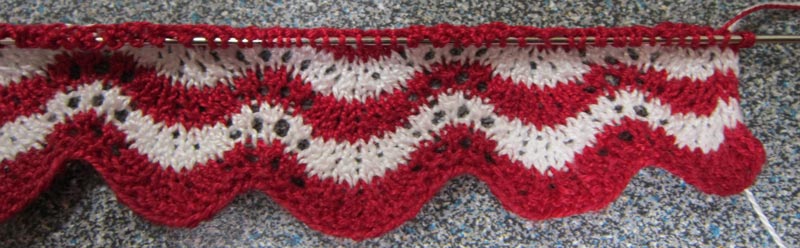
The Mini Flag starts with 4-row stripes of red and white. The natural bias of the lace stitch pattern gives the feeling of a flag waving in the breeze.
The stitch is one of the simple variations from the family of Shetland lace patterns referred to as Old Shale (sometimes also called Feather and Fan).
The characteristic bias/waviness is caused by the grouping of yarn overs that are separated from their compensating decreases.
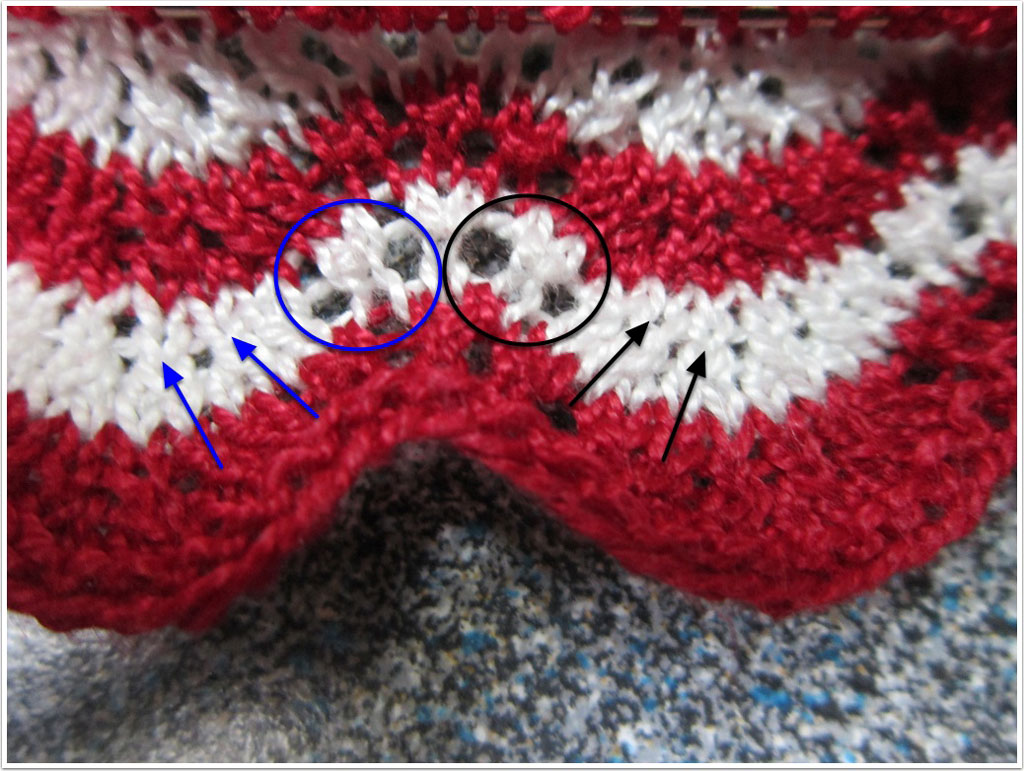
The 2 right-leaning decreases (indicated by black arrows) to the right of the 2 yarn overs within the black circle cause the fabric to bias upwards to the left.
The 2 left-leaning decreases (indicated by blue arrows) to the left of the 2 yarn overs within the blue circle cause the fabric to bias upwards to the right.
Tips for a Cast On Edge that Won’t Curl Later On
It is important to cast on loosely enough so that the cast on edge will not cup later on. Remember that the important aspect of a loose cast on is the distance between the cast on stitches.
Even so, since the stitch pattern of the red and white stripes is stockinette-based, the cast on edge will want to curl unless we take an additional step. To help fight that tendency, the first row is knit from the WS, thus producing a reverse stockinette ridge along the bottom edge of the flag. This by itself won’t totally eliminate curling, but together with blocking later, will result in a non-curling edge provided you have cast on loosely enough.
Tubular Side Edges
The 3 slipped stitches at beginning and end of the WS odd-numbered rows create a rounded tubular edging. Follow the instructions exactly to slip these stitches purlwise with yarn in front so that the gap between 1st and 4th stitch is pulled together on the WS.
Note: Do not be concerned that it takes several rows before the 3 slipped stitches start to look neatly rounded along the edge.
This tubular edge technique will help stabilize the side edges of the flag and keep them from curling.
You’ll also also see later on how the tubular technique will give a place to hide the unused thread color between color changes.
First Color Change
Up through row 5, you are working with red thread only. When beginning row 6, you are ready to begin using white.
Just drop the red thread. DO NOT CUT.
To begin row 6 with white thread, I just leave a tail and start knitting. There is really no need to otherwise temporarily “attach” the white thread unless it just makes you feel more comfortable.
Next up: Tips for changing colors and avoiding long carries between stripes in the Mini Flag.

 HeartStrings FiberArts
 Knitting Bits of Lace on Facebook
 Ravelry Store
Pingback: Elegantly Simple Feather and Fan Shetland Lace | Knit HeartStrings Learn-and-Knit-Alongs