From Marie S: “Perfect ! Thank you so much ! This is just what I was looking for for Christmas gifts.”
The Beaded Crescent Neck Lace pattern doubles as both a beautiful project in its own right and a small practice piece for techniques that might be new to you.
Getting Started
Beaded Crescent Neck Lace is just simple garter stitch with a touch of lace. So the fundamentals are not difficult at all. What sets this project apart is how you let the yarn and beads be the stars of the show.
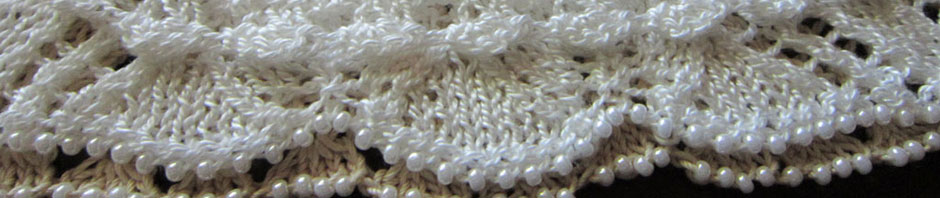
So first of all, have fun auditioning your yarn stash, or use this as an excuse to find some pretty new yarn at your favorite shop. Choose a neck-caressing yarn in pretty colors to sing accompaniment to the sparkle of beads. The beads will be used to outline the crescent shape of the Neck Lace, starting with a Beaded Loops Edging and ending with a Beaded Bind Off.
From Roxanne: “Wow, can’t wait to get started on this. I have so many ideas on what to do with this. Love it.”
Stringing Beads for the Beaded Loops Edging
Since the size 6/0 (4 mm diameter) beads called for in this pattern are larger than previous projects where we’ve strung beads, I think you will find stringing these beads quite easy. If you need a refresher (or this is your first time – welcome!), you can search for articles about “stringing beads” on this site.
Tip: Since the bead holes are larger, you can probably even get by with just using a small tapestry needle (I think it usually is a size 22 needle I use for the Miyuki beads, but you might need a smaller size 24 needle for some brands of craft beads).
Beaded Loops Edging Step-by-Step
If you feel a sense of déjà vu when knitting Beaded Loops Edging, you are likely recalling last year’s November KAL project for Knitted Ribbons. I mentioned at that time how the Picot Loops version of Knitted Ribbons makes a lovely cast on. And that is what we are going to do for the Neck Lace, but with the addition of beads, too!
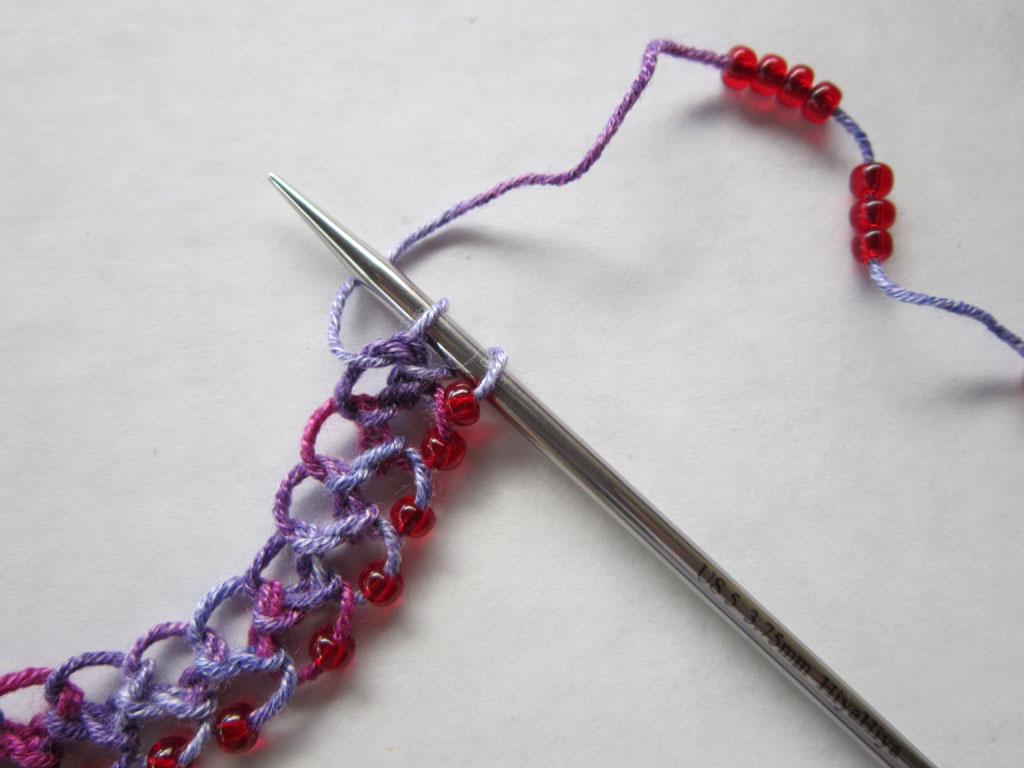
Beaded Loops Edging in progress
Beaded Loops Edging is a really simple 2-stitch pattern. To begin, cast on only 2 stitches.
Tip: Keep it simple and don’t over-think this. You can use whatever cast on you want for your 2 stitches. I probably used long tail because that is my defacto unless there is a specific need to do something else.
A yarn over at the beginning of each row followed by p2tog creates a chain of side-by-side loops. On every other row, we slide a bead into place before making the yarn over. The result is beaded loops along one side of the chain, and plain loops along the other side that we will use later on to pick up and continue into the main body of the crescent.
We’ve done yarn over at beginning of row in previous projects. We’re just going to add in the step of placing the bead. Here’s what it looks like in case you need a visual —
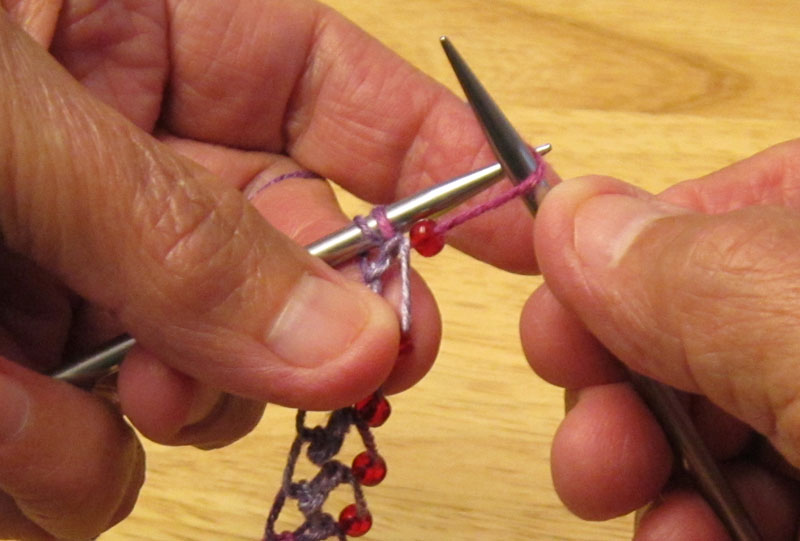
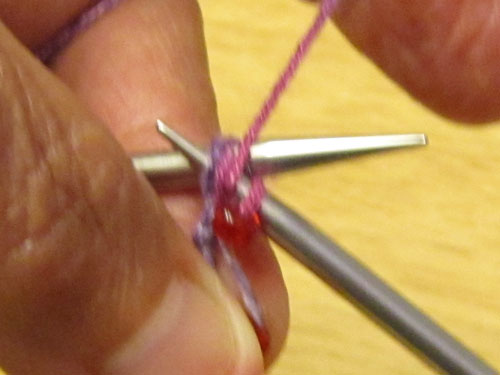
With yarn in front of right-hand needle …
… bring yarn over and around right-hand needle to front again to make yo …
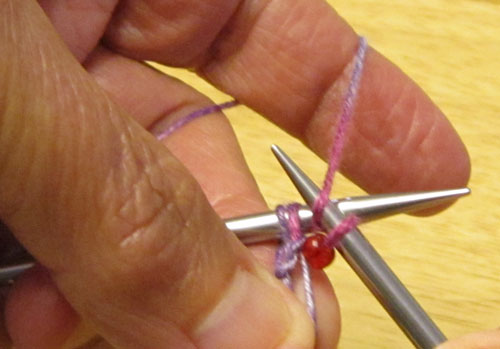
… insert right-hand needle tip into next 2 stitches …
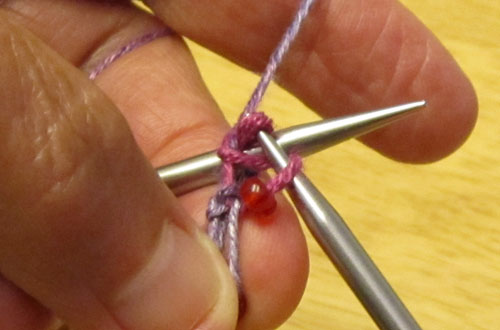
… complete the p2tog stitch, taking care that the bead does not come through the new stitch.
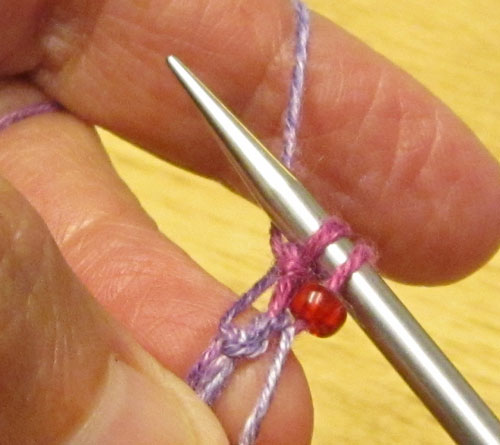
The completed row
Tip: This little edging is pretty even by itself. You might be tempted to not continue with the Neck Lace project, but I hope you will!
From Wendy: “I’ve started the KAL with some of my hand spun wild muga silk yarn that just glistens in the sun. The long chain of beads for the cast on is complete and it is SO pretty just as is. .. but I’m eager to see it finished!”

 HeartStrings FiberArts
 Knitting Bits of Lace on Facebook
 Ravelry Store
Pingback: Keeping It Simple Short Rows | Knit HeartStrings || BOBBOL 2013 Monthly KAL's