The seam of the 2-Needle Preemie Hat will be disguised as another column of herringbone stitches. While knitting the hat, we laid the preliminary groundwork for the edges of a herringbone column by working the ptw and ktw selvedges.

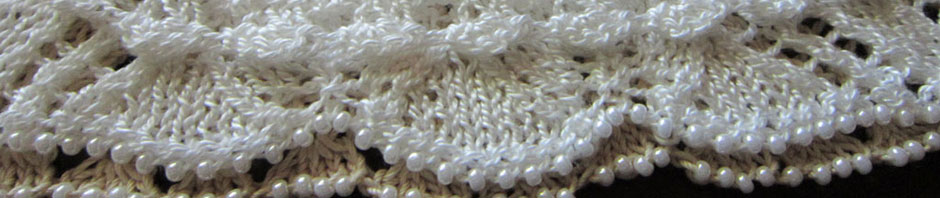
ptw selvedge mimics the edge to the right of a herringbone lace column
Note in the photo above how the edge to the right of a herringbone lace column already looks similar to the ptw selvedge.

ktw selvedge mimics the edge to the left of a herringbone lace column
Likewise, the edge to the left of a herringbone lace column already looks to the ktw selvedge (although I find it a bit more difficult to pick out because, at least in my own knitting, this selvedge is a bit looser and the stitches are not quite as distinct).
All that we need to do now is connect the two selvedges by interlaced stitches that mimic the lace in the middle of a herringbone column.
The seaming stitches are going to be looser than normal; therefore extra yarn is needed for the additional length left between the seamed selvedges. That is why we left such a long yarn tail for seaming.

Note that the long yarn tail is doubled through the eye of the tapestry needle
Tip: To help minimize tangling while seaming, keep the yarn doubled up through the tapestry needle eye until some of that extra length is used up.
To make it easier to take a stitch into each selvedge, you can rotate the hat (and correspondingly the stitch diagrams you are following in the pattern instructions) whatever way is most comfortable for you.
Tip: At the very top of the Crown where you first start seaming, the selvedges are not as distinct. Don’t fret it – just fudge if needed.
Here are photos of a herringbone seam being sewn.

Stitching into the ptw selvedge
Just like learning to do Kitchener stitch, it takes some practice to get in the rhythm. Don’t be hard on yourself if your first attempt or two seems like you are all thumbs. It happens to me, too, when I haven’t used this technique for a while.
")
Stitching into the ptw selvedge (close-up)
To get the interlaced threads, do you see how the needle goes under the thread of the previous seam stitch taken into that selvedge? Then insert the needle into the base of the “V” just below the “bar” of the ptw as shown.

Stitching into the ktw selvedge
Then cross over to the other selvedge, rotating the work as needed, and do the same thing.
Like Kitchener stitch, you can attempt to tension the seaming stitches as you go (which will become easier with practice) and/or tidy them up later.

Rotate your work as needed to take a stitch, but always keeping the RS up
Remember to keep the RS facing up. Thus, when you come to the turn-back row for the brim, remember to turn the hat inside out.
Herringbone makes a beautiful, decorative seam on its own. So don’t necessarily just think this can be used for only for a preemie hat. I hope it will inspire you to think of other ways of using it to dress up a seam, or make a seam seem seamless. 🙂
p.s. As you probably already guessed, the photos do not show me actually holding the needle. John is down with the flu, and I didn’t have the heart to drag him out of bed to help me with photographs. So I was holding the camera with my right hand, lol. Hope you get the idea, though.

 HeartStrings FiberArts
 Knitting Bits of Lace on Facebook
 Ravelry Store
You are welcome. Good to hear you like the new printer friendly option, too.
Thank you for these instructions and pics, they are very helpful.
Also, I love the print friendly icon, that has made it so easy to print and
work the pattern.