
Dolly’s Top-Down Tri Shawl features a continuous strip of beaded lace edging along front bands and bottom of the shawl. See how in this photo tutorial.
To complete Dolly’s Top-Down Tri Shawl, we knit an edging onto live stitches, thus using the edging to bind off the stitches.
This is not going to be totally new to many of you who were around for last December’s knit-along. We’ve had a project before, A Bit of Lace Dolly Faroese Shawl, where we used the Attach-as-you-knit Method for Lace Edging as a Bind Off.
What is different with the Continuous Attach-as-you-knit Lace Edging Bindoff is that –
1. The edging just continues on the same stitches as the left-hand front edge band, rather than casting on extra stitches to start the edging.
2. Rather than binding off the stitches of the edging after all stitches of the side panels and center band, the edging stitches are grafted to the stitches of the right-hand front band. This creates the look of continuity of the edging for the right front band.
Note: Left-hand and right-hand refers to the shawl as worn. In the below pictures where the shawl is shown upside down, the left-hand front edge is actually to the right of the photo, and vice versa.
Short Row Corner
To begin the bottom edging, a series of short rows is needed so that the edge will lie flat as it makes the turn (lower right in photo below).

Shawl edging continuation of front band along bottom of shawl
Binding Off
Then the beaded lace edging proceeds as usual for an “attach-as-you-knit” bind off. The final ssk of each RS edging row attaches the edging to a stitch in the shawl body, thus binding off one stitch.

Edging close-up
The Other Short Row Corner
When all except the last stitch of the 2nd side panel has been bound off (i.e. 13 stitches total), it is time to do a series of short rows again so that the edging lies flat when it turns this corner.

Nearing the end of the attached edging
Make sure you have completed the WS row of the attached lace edging before you start the series of rows for the short row corner.
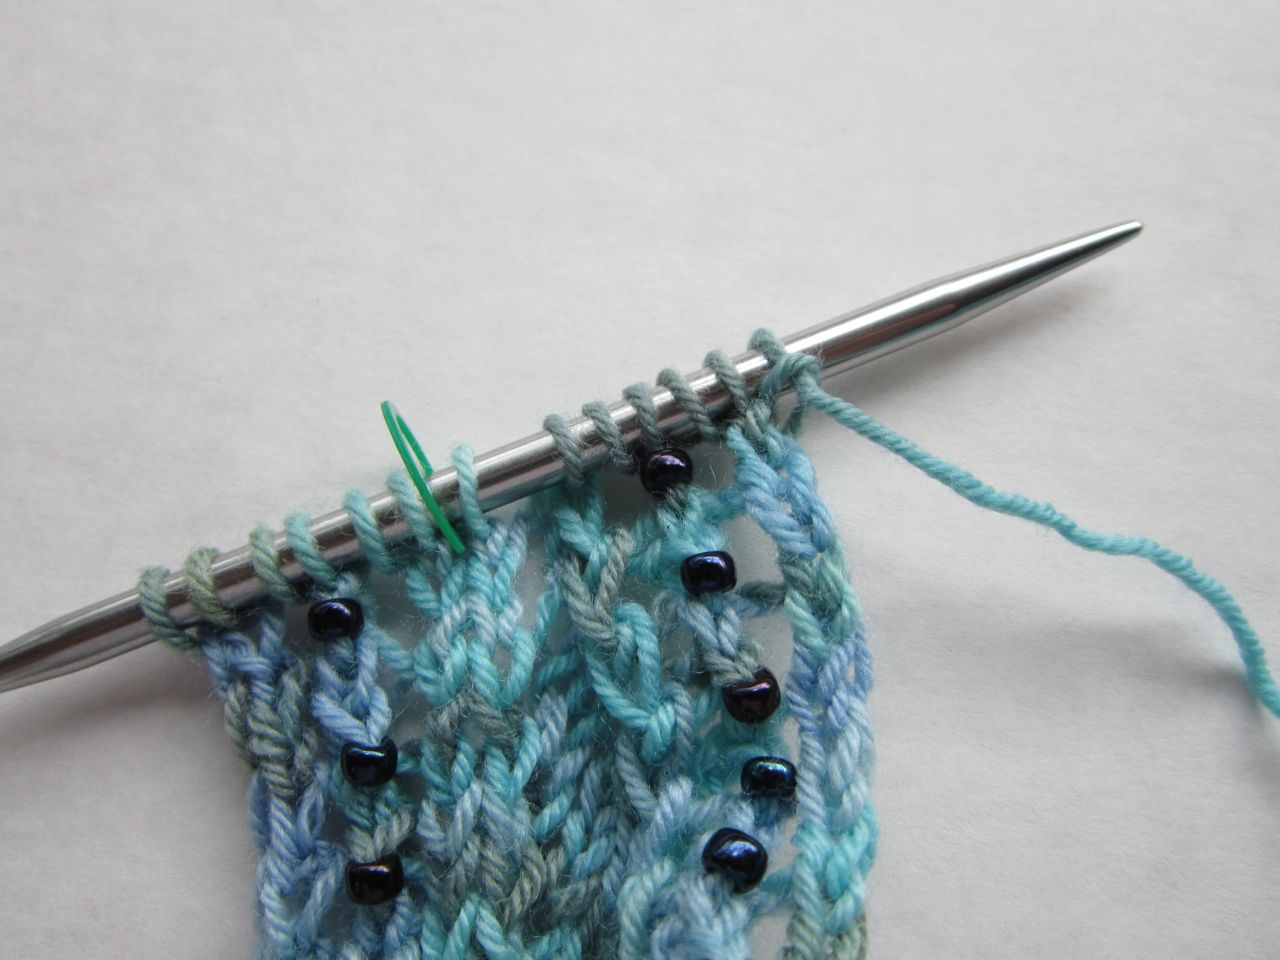
Work the final series of short rows for the corner after you get to this point in your knitting
Note: The last stitch of the 2nd side panel will be bound off in the final RS row of the short row corner sequence, thus leaving 12 stitches total.
Graft Stitches
After completing the short row corner, you will setup the edging stitches so that they can be grafted to the other front band. Divide these on 2 needles (6 stitches each) and arrange as shown.

Setup the edging stitches to be grafted to the other front band
Here is a refresher on grafting stitches if needed.
Finishing Touches
There are just a few more things to do to after the attached edging is completed.
The edging is completed
1. Weave together the center back neckline cast on stitches as instructed in the pattern.
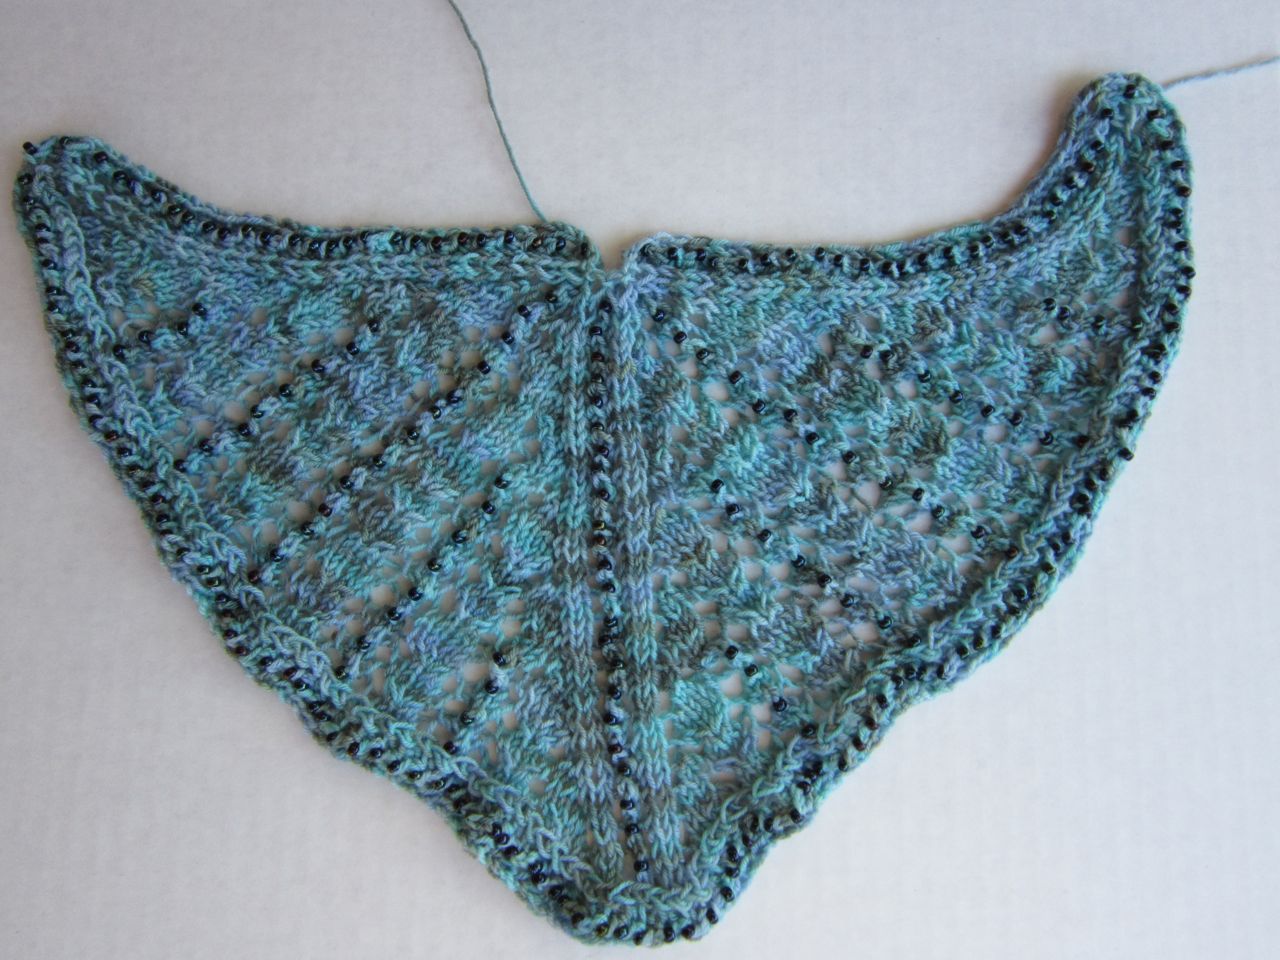
Unblocked shawl after center back neckline has been seamed
2. Weave in ends on WS.
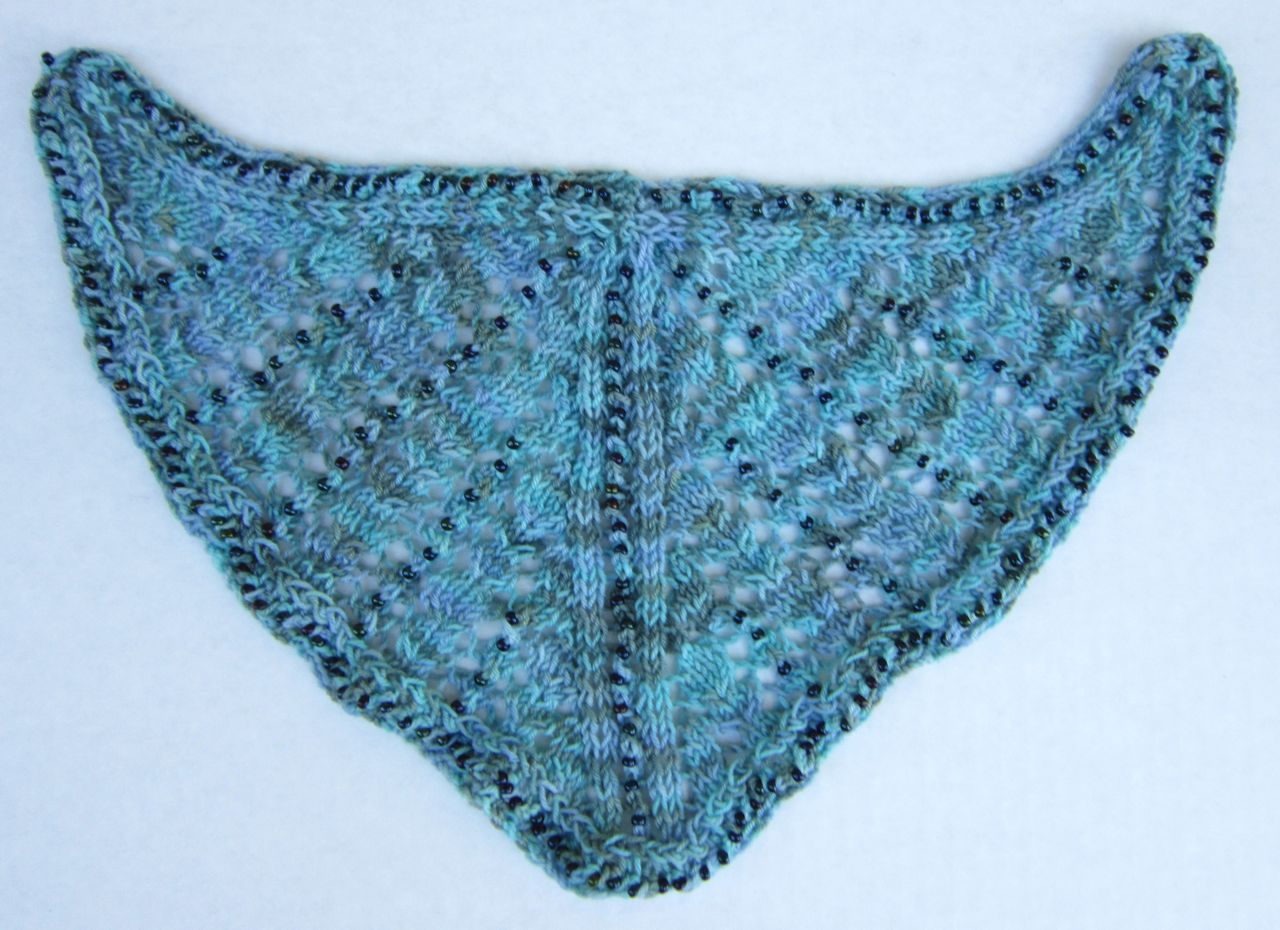
3. Block to open up the lace and even out the stitches.
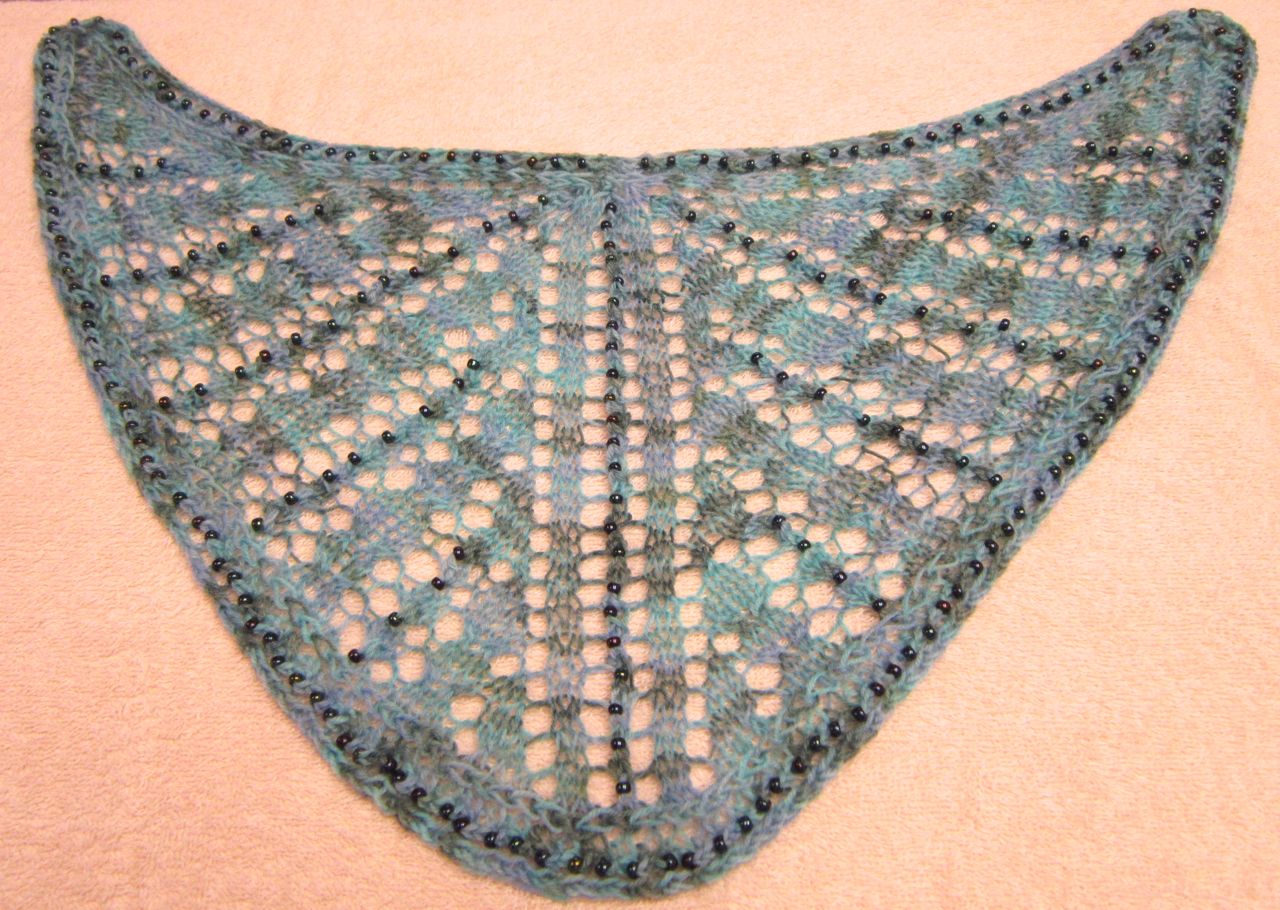
Even a minimal blocking will open up the lace and even out the stitches
Comments? Questions?
How are you doing with your dolly shawl? Thank you to those who have already checked in with pictures and comments. Everyone is welcome to share anytime.

 HeartStrings FiberArts
 Knitting Bits of Lace on Facebook
 Ravelry Store
Yesterday I put together a few things to take with me to knit on our long weekend — seems to be an annual visit to the nearby mountains every 4th of July. I have the usual preemie hats to knit in the car. That’s no focus knitting, not even watching except when I cast on and join in the round. But then there’s the flower doily/cloth with two different colors of cotton worsted. And the dolly shawl (I did find some white glittery beads at the craft store to try with the white baby yarn). And the Lacie Blankie to start the middle section. And a Wendy D. Johnson second sock for my sister, toe up, going up the leg now, almost every row active twisted stitches, just have to match the other sock, and should’ve been finished already. Three out of four are Heartstrings patterns. Isn’t that interesting!!! And no, I’m not surprised at all. 😉
That’s a great repertoire of HeartStrings projects for a weekend trip! Like you, it is nice to have a variety of projects at hand from mindless to attention-engaging. Have fun and be safe on your long weekend trip!