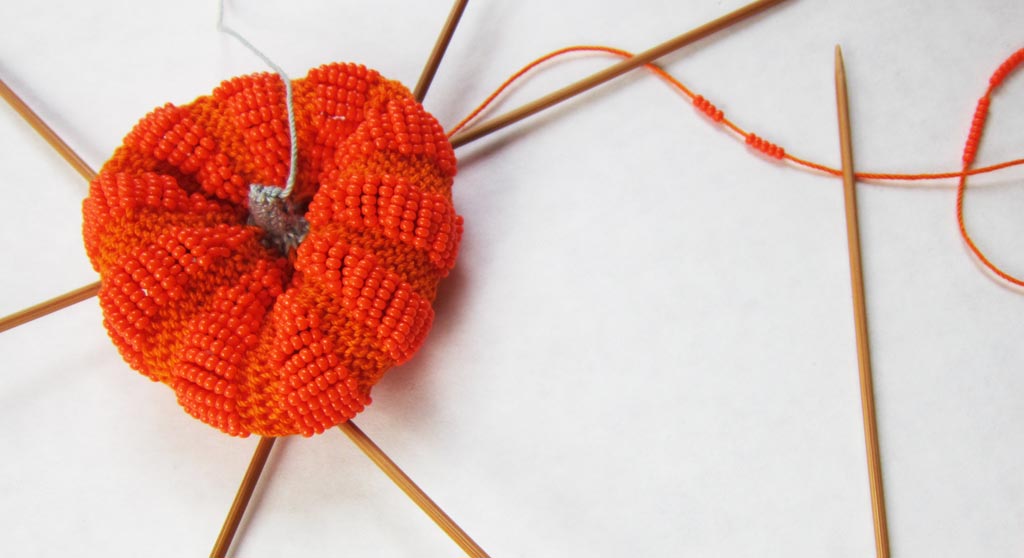
Little Beaded Pumpkin is the first of our BOBBOL projects that has used a LOT of strung beads. Both in total, as well as multiple beads being placed at the same time between stitches.
Keeping that in mind, I wanted to take this opportunity to share some tips to help making working with lots of beads successful and enjoyable, both when knitting your little pumpkins as well as for your other projects in the future that might use lots of beads.
Tip: Throttle Your Transfer Speed
When confronted with the task of transferring pre-strung strands of bead hanks to your project yarn, there is a temptation to speed up the job by sliding ALL the beads on a strand AT THE SAME TIME over the knot onto yarn. This is usually a guarantee of disaster and the thread will break because of too much stress.
That is why I specifically use the word “some” in the Transferring Pre-Strung Beads photo tutorial where I demonstrate the step to “Slide some beads over the knotted loop …”
Remember that in this method of transferring beads you are going over a double thickness to begin with as you transition from the knotted loop in the pre-strung string onto your project yarn. That transition can be a tighter fit than maybe you are expecting. Throttle Your Transfer Speed and don’t try to push more than a few beads at a time onto the thread (sometimes just one bead if that helps, at least until you get things started).
Tip: Rule of Hand
After the prep work of getting the beads strung on your project yarn, push the beads down along the yarn until needed. As you work your project, it is likely that you will use up yarn more quickly than the beads are used up. So periodically you will again need to push beads out of the way down along the yarn some more.
It is tempting to want to push ALL of the beads down along the yarn at the same time. Unless the yarn is very slick, or there are just a few beads in total that need to be moved, you are likely to meet resistance. If you force, you risk damaging, fraying or even breaking your yarn (and what a mess that is when beads start flying off! if this happens this to you, unfortunately you won’t need to learn the lesson twice).
If you meet resistance when pushing beads along the yarn, use the Rule of Hand to preserve the integrity of your yarn: Only push the amount of beads you can comfortably cradle in your hand. By letting your hand give support while pushing, strain and stress on the yarn is minimized.
OK, I admit that I made up the name of that “rule” so I doubt you will hear it elsewhere. But I think you get the idea, lol.
Tip: Be a Bead Counter
This is a good time to review the Pre-counting Beads for a Row article from earlier this year. When working in rounds rather than rows, the same good practices apply to help you place the correct number of beads.
The additional challenge with Little Beaded Pumpkin and other similar Structural Beaded Knitting projects where the beads are actually creating the form, is to accurately count the number of beads being slid between stitches. A good practice is to Be a Bead Counter with the motto “count twice knit once”:
- count the beads as you move them close to the needle
- re-count the beads (out loud if necessary to get in the habit)
Now you are ready to knit (or purl) the next stitch following where the beads have been slid.
Being a Bead Counter will increase your chances to get it right the first time rather than having to rip and re-knit.
Bead happy!


 HeartStrings FiberArts
 Knitting Bits of Lace on Facebook
 Ravelry Store