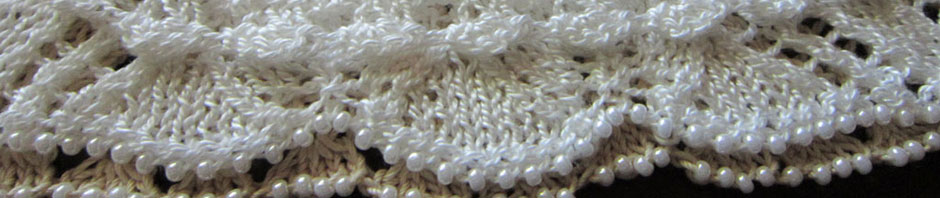
This month’s KAL project for Pretty Awesome Yarn Pouch uses the crochet hook method of bead placement. This method does not pre-string the beads on the working yarn like we did for the Beading Hearts Friendship Bracelet. Instead, a bead is placed on a live stitch during the knitting process itself.
Before attempting on live stitches (and possibly dropping stitches or otherwise messing up your knitting while getting the hang of this method), you can practice with a loop of yarn. This also helps you test that the crochet hook you plan to use will work with the beads and yarn for your project.
Step 1. Insert crochet hook through the hole of a bead and push the bead along the shank away from the hook end for a little ways.
Tip: If you push the bead as far as it will go along the shank, it will sort of stick and not tend to fall off the crochet hook when you are fiddling to grab the loop of yarn in the next step.
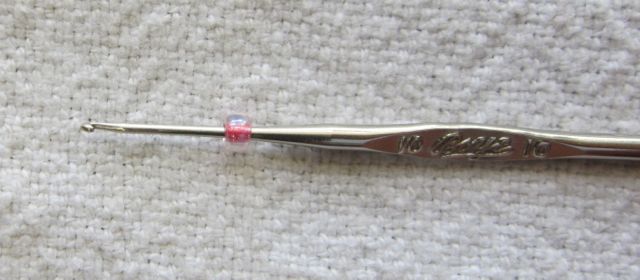
Insert crochet hook through the hole of a bead
Step 2. Grab the loop of yarn with the hook end.
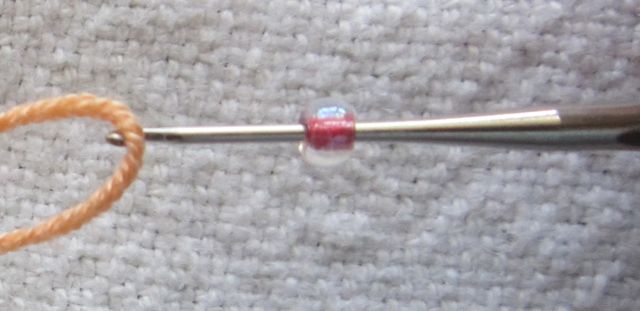
Grab the loop of yarn with the hook
Tip: Be careful that the hook does not split the yarn. Keeping a firm tension on the loop of yarn before grabbing it with the hook can help.
Step 3: Push the bead down the crochet hook shaft onto the hook end.

Push the bead down the crochet hook shaft onto the hook end
Tip: Continue to keep firm tension of the yarn loop against the hook end so that the loop does not fall off while you get the bead pushed into place over the hook.
Step 4: Pull the yarn loop through the bead hole.

Pull the yarn loop through the bead hole
Tip: With practice, Steps 3 and 4 will become one fluid motion.
When working the actual pattern, your loop is a live stitch on which you want to place a bead. After completing steps 1 – 4, you would now be ready to put the loop of the live stitch that is above the bead back onto the knitting needle. What you do with the beaded stitch after that depends on the beading design. For Pretty Awesome Yarn Pouch, we will be placing the beaded stitch onto the left-hand needle and knitting the stitch. If there is interest, in future articles and projects I’ll talk about various ways of working the beaded stitch that give different results and why they are used.
p.s. This technique of using a crochet hook to pull a loop of yarn through a hole can also be used for attaching buttons with the no-sew method.

 HeartStrings FiberArts
 Knitting Bits of Lace on Facebook
 Ravelry Store
Jackiees gracias por el mensaje de cumpleaños muy lindo. Me gusta la bufanda pero no puedo descargar ningún patrón.
Pingback: Thoughts on Beading the Lace Doily Beret | Knit HeartStrings Monthly Learn-and-Knit-Alongs
Most things are easy when taken in bit-sized steps. So glad the illustrations are helpful in you making friends with this technique.
This new-to-me technique was adequately described and illustrated. Your instructions make the procedure look non-threatening — easy, even. Thanks.
Pingback: Some Other Options for Hooking Beads | Knit HeartStrings